
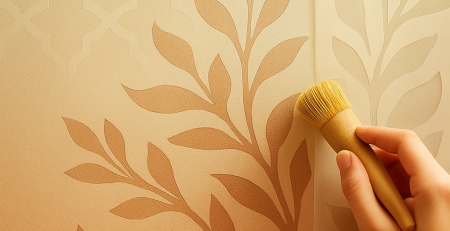
If you’ve ever wanted to refresh your space without a major renovation, wall stenciling is a fantastic way to do it. It’s budget-friendly, creative, and—best of all—completely doable, even for beginners. In this guide, we’ll walk you through how to stencil on wall surfaces step by step, so your next DIY project feels easy and fun.
Step 1: Choose the Right Stencil for Your Space
Before you begin, pick a stencil that fits the vibe of your room. Want something bold? Geometric patterns or large florals can make a real statement. Prefer something calming? Mandalas or leafy designs add gentle charm.
Tip: Browse our most popular stencils if you need inspiration.
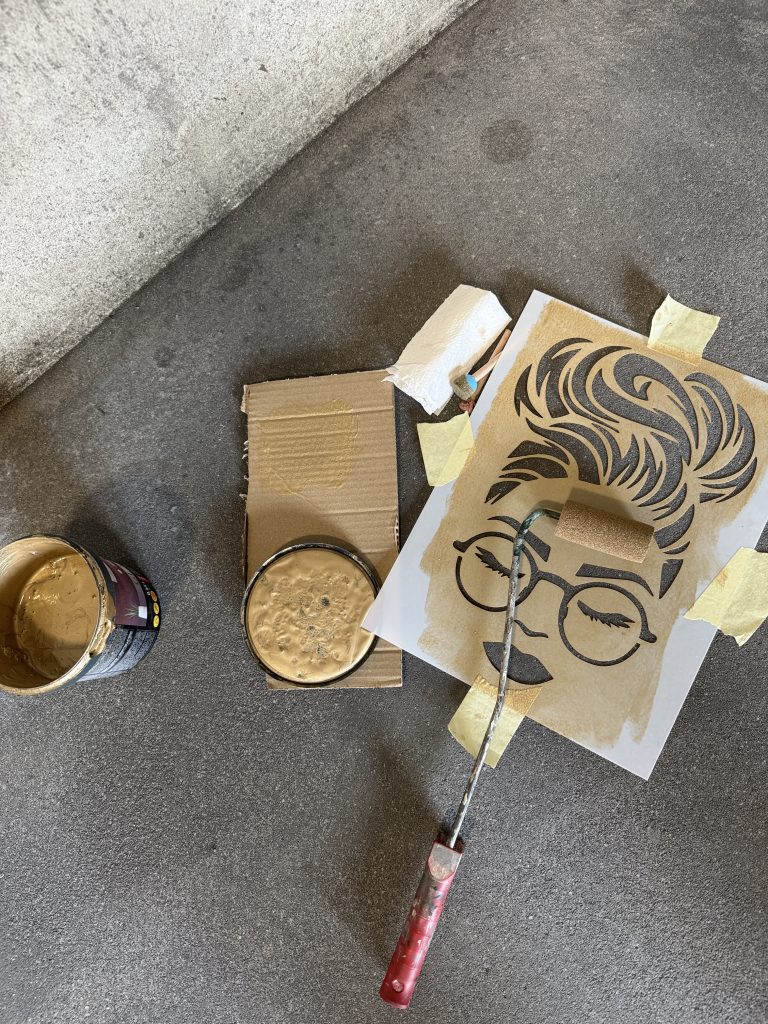
Step 2: Gather Your Tools for Stencil Art
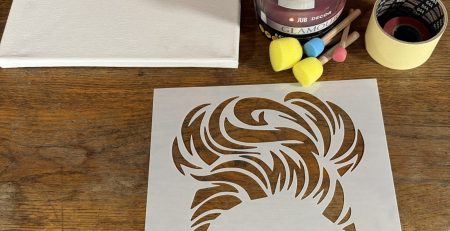
Having the right tools makes all the difference. For this project, you’ll need:
- Painter’s tape or spray adhesive
- A stencil brush or dense foam roller
- Acrylic or wall paint
- Paper towels or a tray to offload excess paint
- A level (to keep things straight!)
We’ve already gone in-depth on this in our post about top tools for stencil art — check it out for more tips.
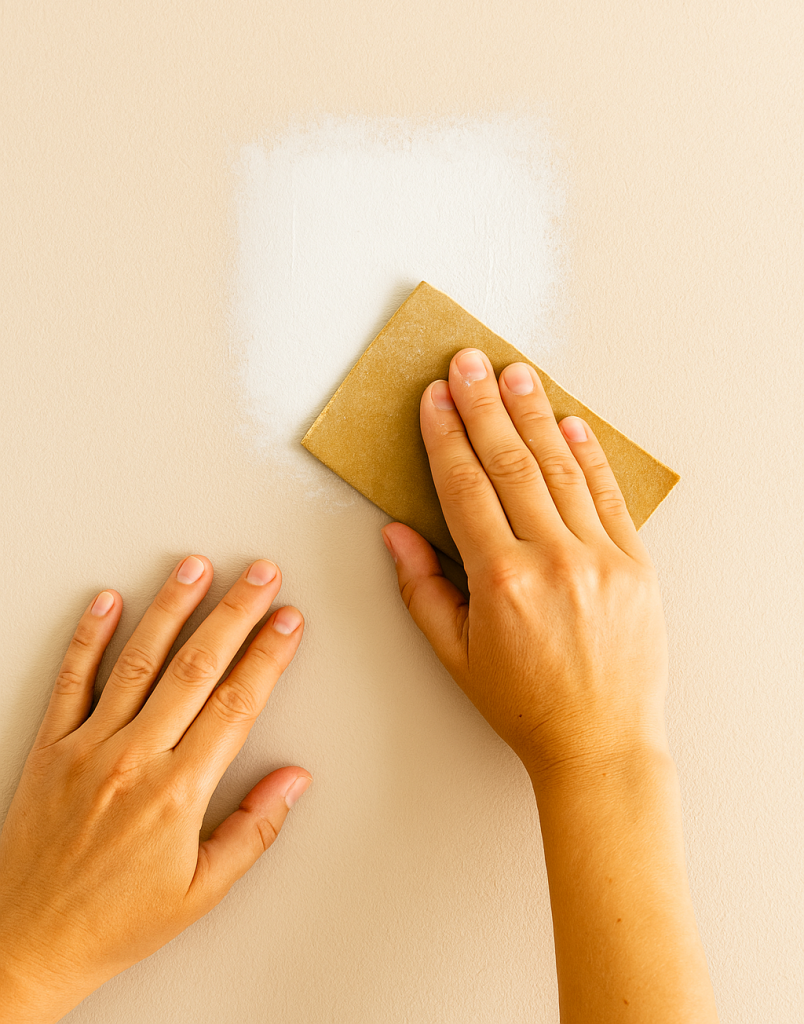
Step 3: Prep Your Wall
Clean the wall and make sure it’s dry. If the surface is glossy or textured, consider lightly sanding it first and applying a base coat. Use a level to help you place your stencil evenly before taping it in place.
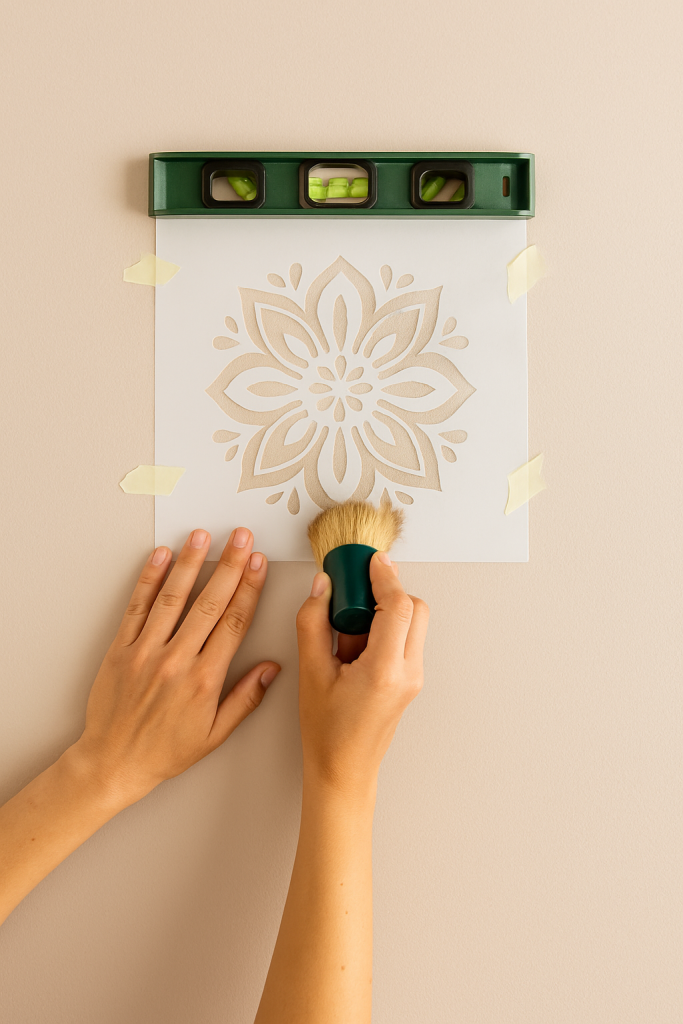
Step 4: How to Stencil on Wall Without Bleeding
This is the step where patience pays off! Lightly dip your brush or roller into paint and offload excess on a paper towel. Then dab or roll gently onto the stencil in thin layers. Avoid overloading the paint—it’s better to build up color slowly.
🎨 Want to add extra flair? Try layering with different shades or adding a metallic accent on top!
Step 5: Peel & Reveal
Once you’ve finished painting, carefully peel off the stencil while the paint is still wet. This helps prevent lifting or smudging. Let it dry completely before applying more layers or repeating the pattern.
Bonus tip: Don’t rush! Let the paint dry fully before moving your stencil to the next section.
Step 6: Seal It
To protect your design, especially in high-traffic areas, apply a clear matte sealant once everything is dry. This helps preserve your artwork for years to come.
Why Learn How to Stencil on Wall?
- It’s a fun and affordable DIY project
- You get a custom look without professional help
- The design options are endless
- It brings personality to your space
Ready to give it a try? Start with a small area, take your time, and enjoy the process. With the right stencil and a little patience, you’ll turn any blank wall into a work of art.
🛒 Explore our collection of wall stencils and find the perfect match for your next makeover.
GET IN TOUCH
Transform Your Space with Us
Cake Decoration Stencils – Personalized Designs for Pastry and Cakes
Cake decoration is all about details. A simple cake becomes unforgettable with the right design. Professional pastry chefs and home bakers use...
read more
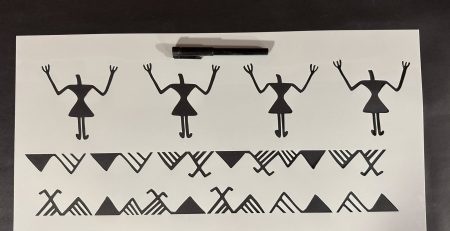
Prehistoric Stencil Art
When history meets creativity, the result is more than just a decorative project — it’s a bridge between past and present. For...
read more
Advanced Stencil Techniques: 7 Tips for Professional Results
If you’ve already mastered the basics of stenciling — you know how the paint behaves, what tools you like best, and even...
read more
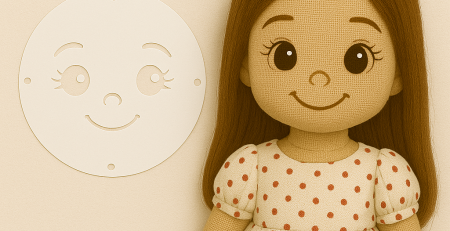
How to Use Doll Face Stencils – Create Perfect Doll Faces
Making dolls is fun — but painting their faces can be the hardest part. Getting both eyes even? Not so easy! That’s...
read more

Custom Pressure Washer Stencils
When you think of stencils, you probably picture paint or plaster.But custom pressure washer stencils work in a completely different way —...
read more
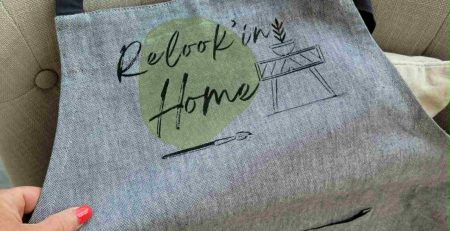
How to Use Fabric Stencils: DIY Apron Tutorial (2025)
Stenciling on fabric is one of the easiest ways to make something personal, creative, and useful. Whether you want to decorate a...
read more
Top Tools for Stencil Art: A Beginner’s Guide
Getting started with stencil art can feel exciting but a bit overwhelming. There are so many materials and supplies out there that...
read more

What Is Stencil Art? A Simple Guide for Beginners + Easy Project Ideas
If you’ve ever seen a beautifully painted wall or a creative pattern on a piece of furniture and thought, “Wow, I wish...
read more