Making dolls is fun — but painting their faces can be the hardest part. Getting both eyes even? Not so easy! That’s why many doll makers use a doll face stencil or doll face template to help with placement and shape.
If you paint, embroider, or sew dolls, stencils make it easier. You don’t have to draw each face by hand. Just place the stencil, trace, and paint.
Your painted doll face on fabric will look clean and even. It’s quick, simple, and great if you’re making more than one doll.
Doll Face Stencil Art – Styles & Uses
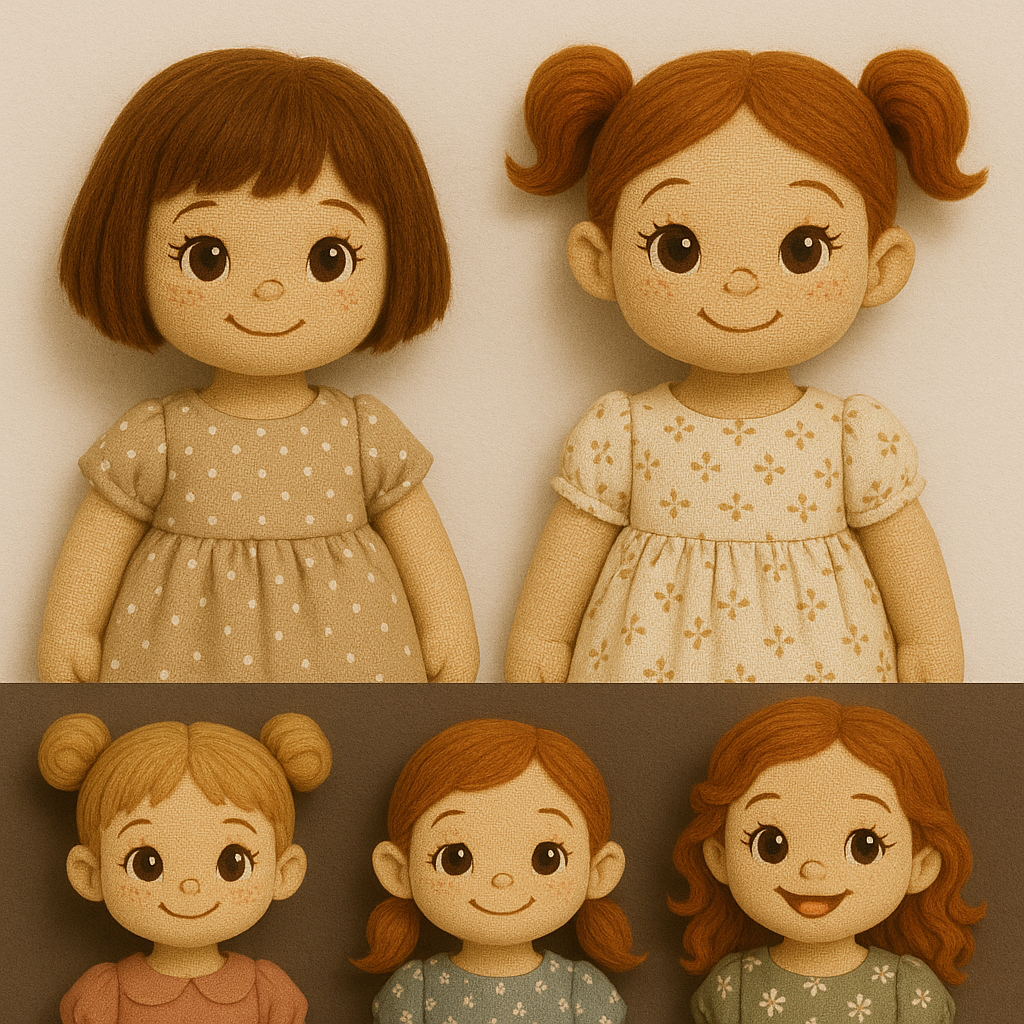
Doll face stencil art is a fun and easy way to give your handmade dolls clean, balanced faces without drawing everything by hand. Using a reusable doll face template, you can quickly place the eyes, mouth, and other features exactly where you want them — neat and even every time.
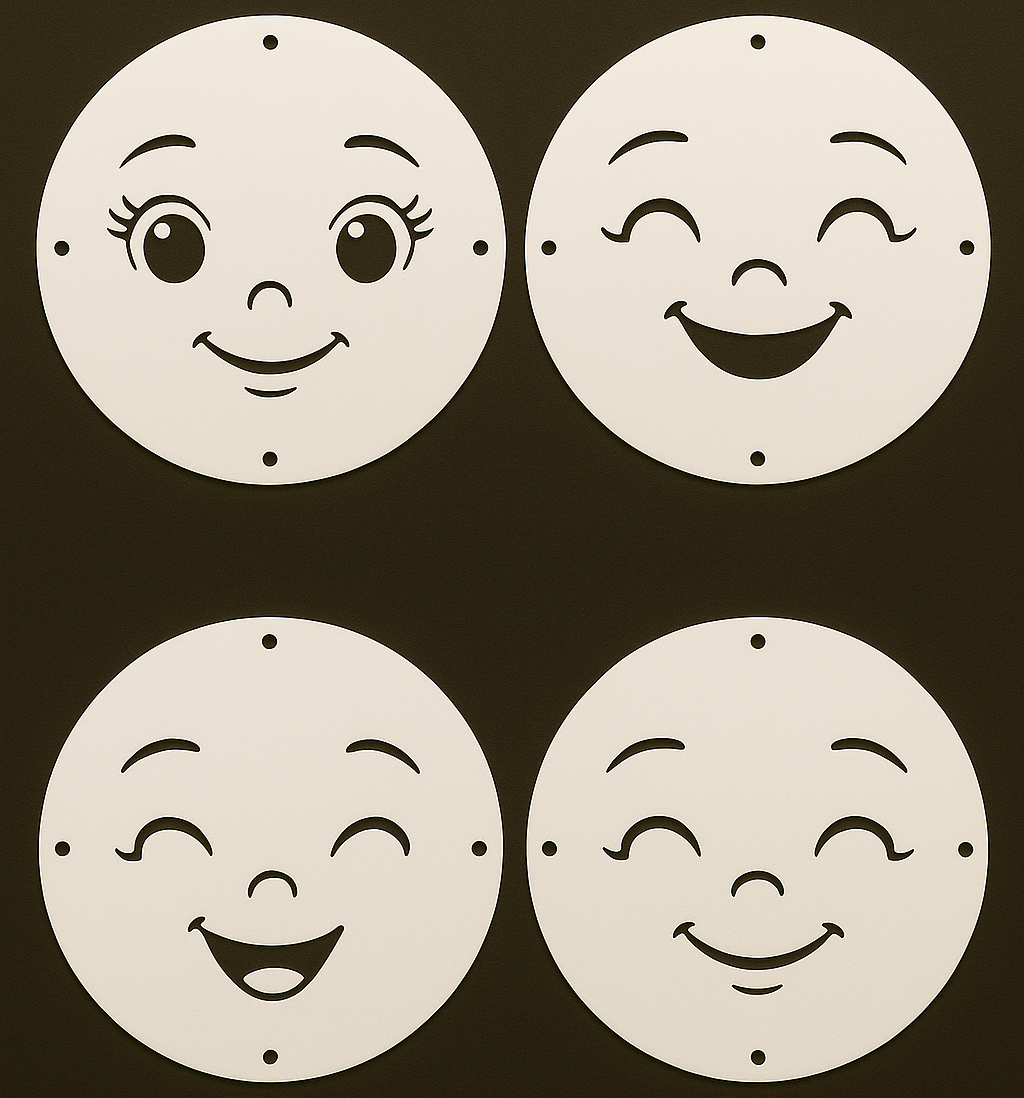
These stencils work beautifully on soft fabric dolls, felt creations, or even painted wooden figures. Some designs are simple — just two eyes and a smile — while others include finer details like eyelashes, brows, or even tiny freckles.
You’ll find different types to suit your style:
- Embroidery face stencils – perfect for neat stitched outlines
- Painted face templates – great for fabric or acrylic paints
- Multi-part stencils – where each layer adds color or detail
The one you choose depends on how detailed you want your doll to look. Some makers even mix techniques — like painting the eyes and embroidering the mouth — for extra charm. And because these stencils are reusable, they’re perfect if you’re making many dolls or selling your handmade work.
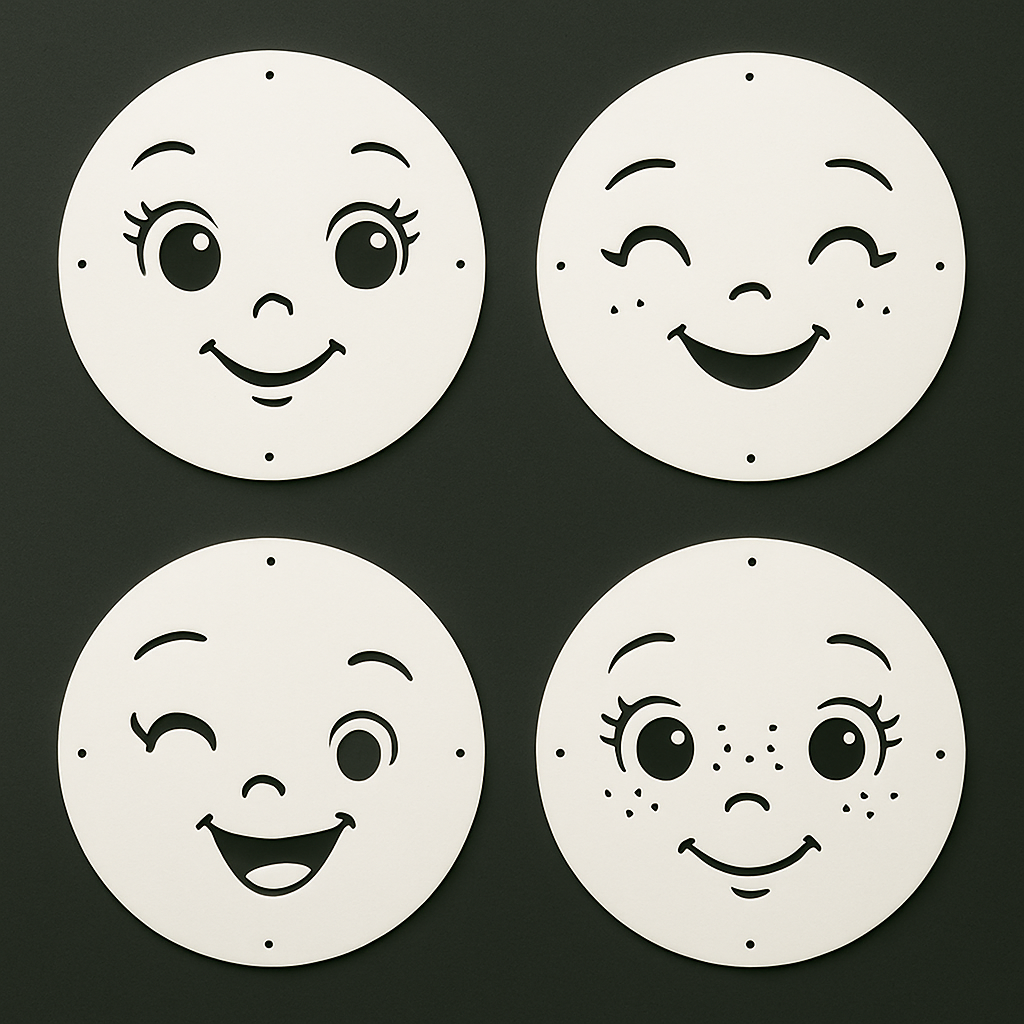
Dolls with Simple Face Stencils
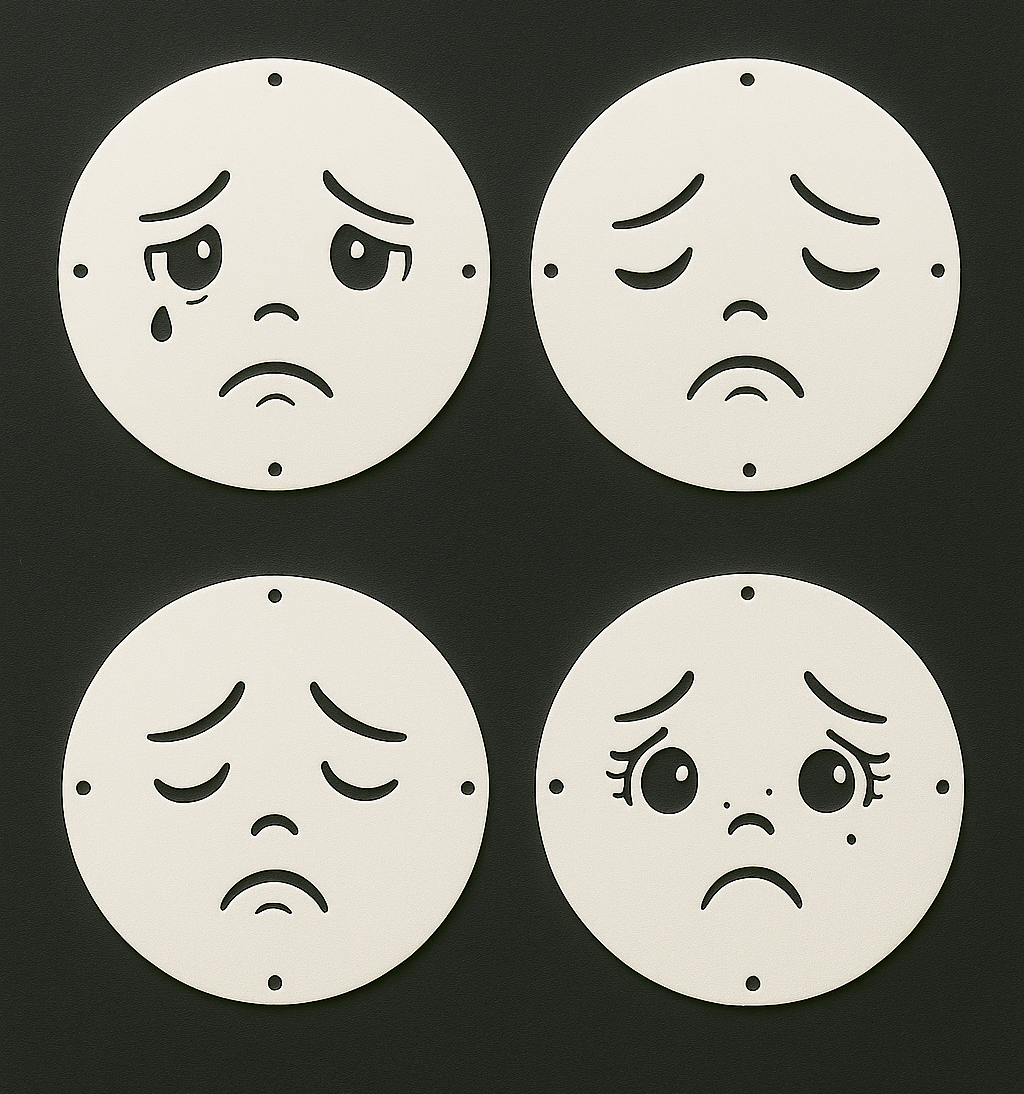
Dolls with Detailed Face Stencils
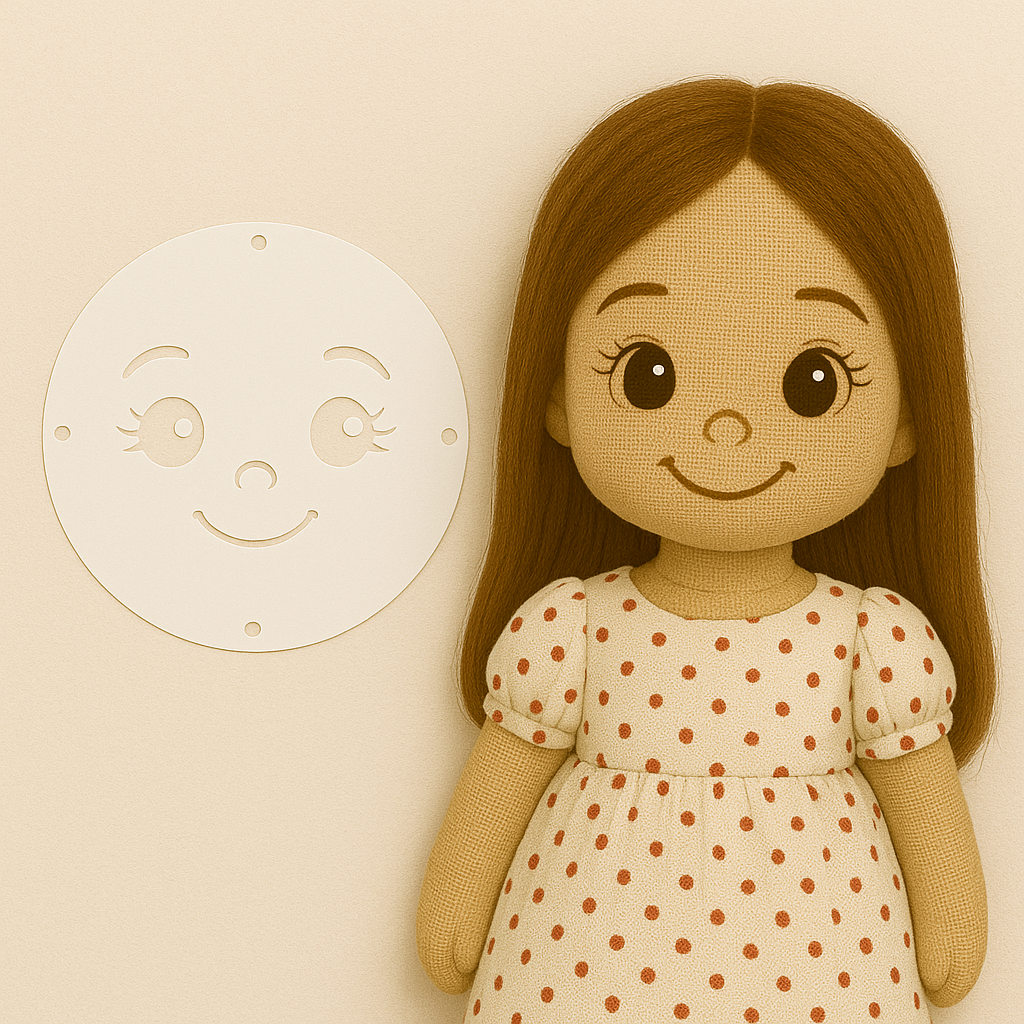
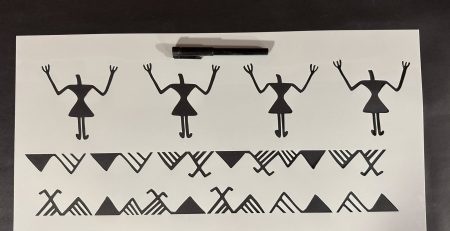
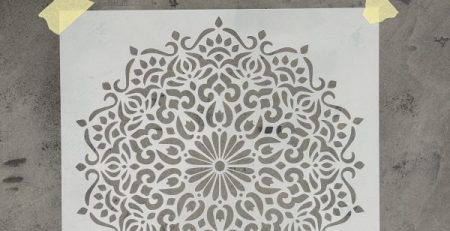
What Are Those Little Dots on the Stencil?
Those small dots you see on the edges of a doll face stencil are called registration marks. They help you line up your stencil in the right spot — especially if you’re using more than one layer.
Simple stencils might have just one or two marks, while multi-layer designs often have four (top, bottom, left, right) for perfect alignment. These marks make it easier to place features consistently, even when making several dolls. You can lightly trace them with fabric chalk or pencil, and wipe them away when you’re done.
Doll Face Stenciling
Using a doll face stencil is simple. Just place it on your fabric, felt, or wooden doll head, then trace the features with a fabric pen or fill them in with paint.
If you’re painting, use a dry brush or sponge with very little paint to avoid smudging. For embroidery, you can trace the lines lightly and stitch over them. Let each layer dry before adding more, and always test on scrap fabric first if you’re unsure.
That’s it — no need to overthink it. The stencil does most of the work for you.
Quick Tips for Using Doll Face Stencils
- Use low-tack tape or spray adhesive to keep the stencil in place
- Test first on scrap fabric before using it on your doll
- Less paint = better results — always dab, don’t brush
- Let each layer dry if using multi-part stencils
- Trace lightly if you’re planning to embroider
- Wipe your stencil clean after each use so it lasts longer
Ready to Try It Yourself?
Doll face stencils are a simple way to get beautiful, balanced results — whether you’re painting, stitching, or just having fun with fabric. They take the stress out of drawing faces and help you make more dolls with ease.
Looking for a custom stencil?
Feel free to reach out — we’ll be happy to create a doll face stencil just for you. Whether you have a sketch, an idea, or a reference, we’re here to turn it into a reusable stencil that fits your project perfectly.
📩 Contact us anytime — we’re ready when you are!
GET IN TOUCH
Transform Your Space with Us
How Custom Stencils Are Made
Introduction
If you’ve ever searched for the perfect stencil for your wall, furniture, or business space, you’ve probably noticed that most online shops...
read more
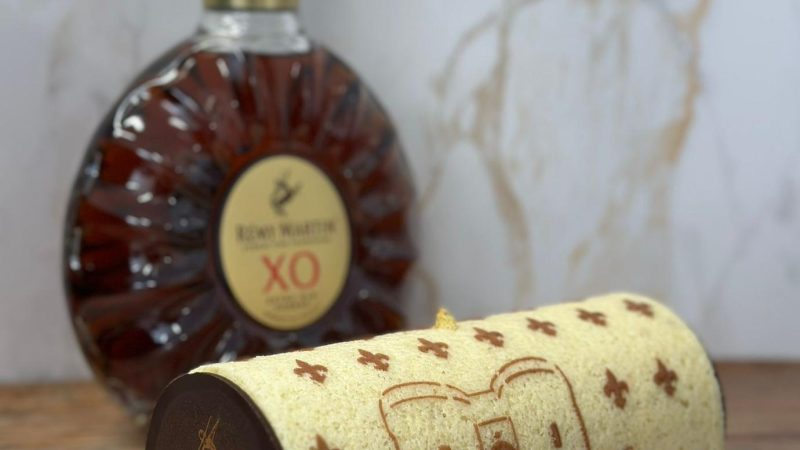
Cake Decoration Stencils – Personalized Designs for Pastry and Cakes
Cake decoration is all about details. A simple cake becomes unforgettable with the right design. Professional pastry chefs and home bakers use...
read more
Prehistoric Stencil Art
When history meets creativity, the result is more than just a decorative project — it’s a bridge between past and present. For...
read more
Advanced Stencil Techniques: 7 Tips for Professional Results
If you’ve already mastered the basics of stenciling — you know how the paint behaves, what tools you like best, and even...
read more
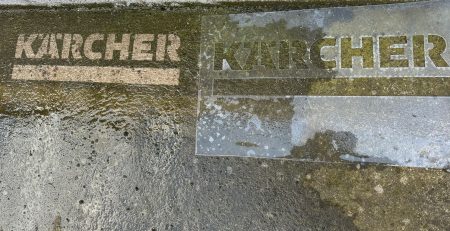
Custom Pressure Washer Stencils
When you think of stencils, you probably picture paint or plaster.But custom pressure washer stencils work in a completely different way —...
read more
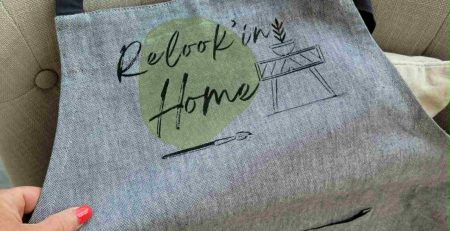
How to Use Fabric Stencils: DIY Apron Tutorial (2025)
Stenciling on fabric is one of the easiest ways to make something personal, creative, and useful. Whether you want to decorate a...
read more
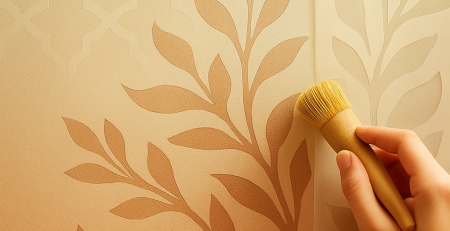
How to Stencil on a Wall: Easy DIY Wall Art for Beginners
If you’ve ever wanted to refresh your space without a major renovation, wall stenciling is a fantastic way to do it. It’s...
read more
Top Tools for Stencil Art: A Beginner’s Guide
Getting started with stencil art can feel exciting but a bit overwhelming. There are so many materials and supplies out there that...
read more
What Is Stencil Art? A Simple Guide for Beginners + Easy Project Ideas
If you’ve ever seen a beautifully painted wall or a creative pattern on a piece of furniture and thought, “Wow, I wish...
read more