Stenciling on fabric is one of the easiest ways to make something personal, creative, and useful. Whether you want to decorate a tote bag, t-shirt, or apron — fabric stenciling is a fun and simple project.
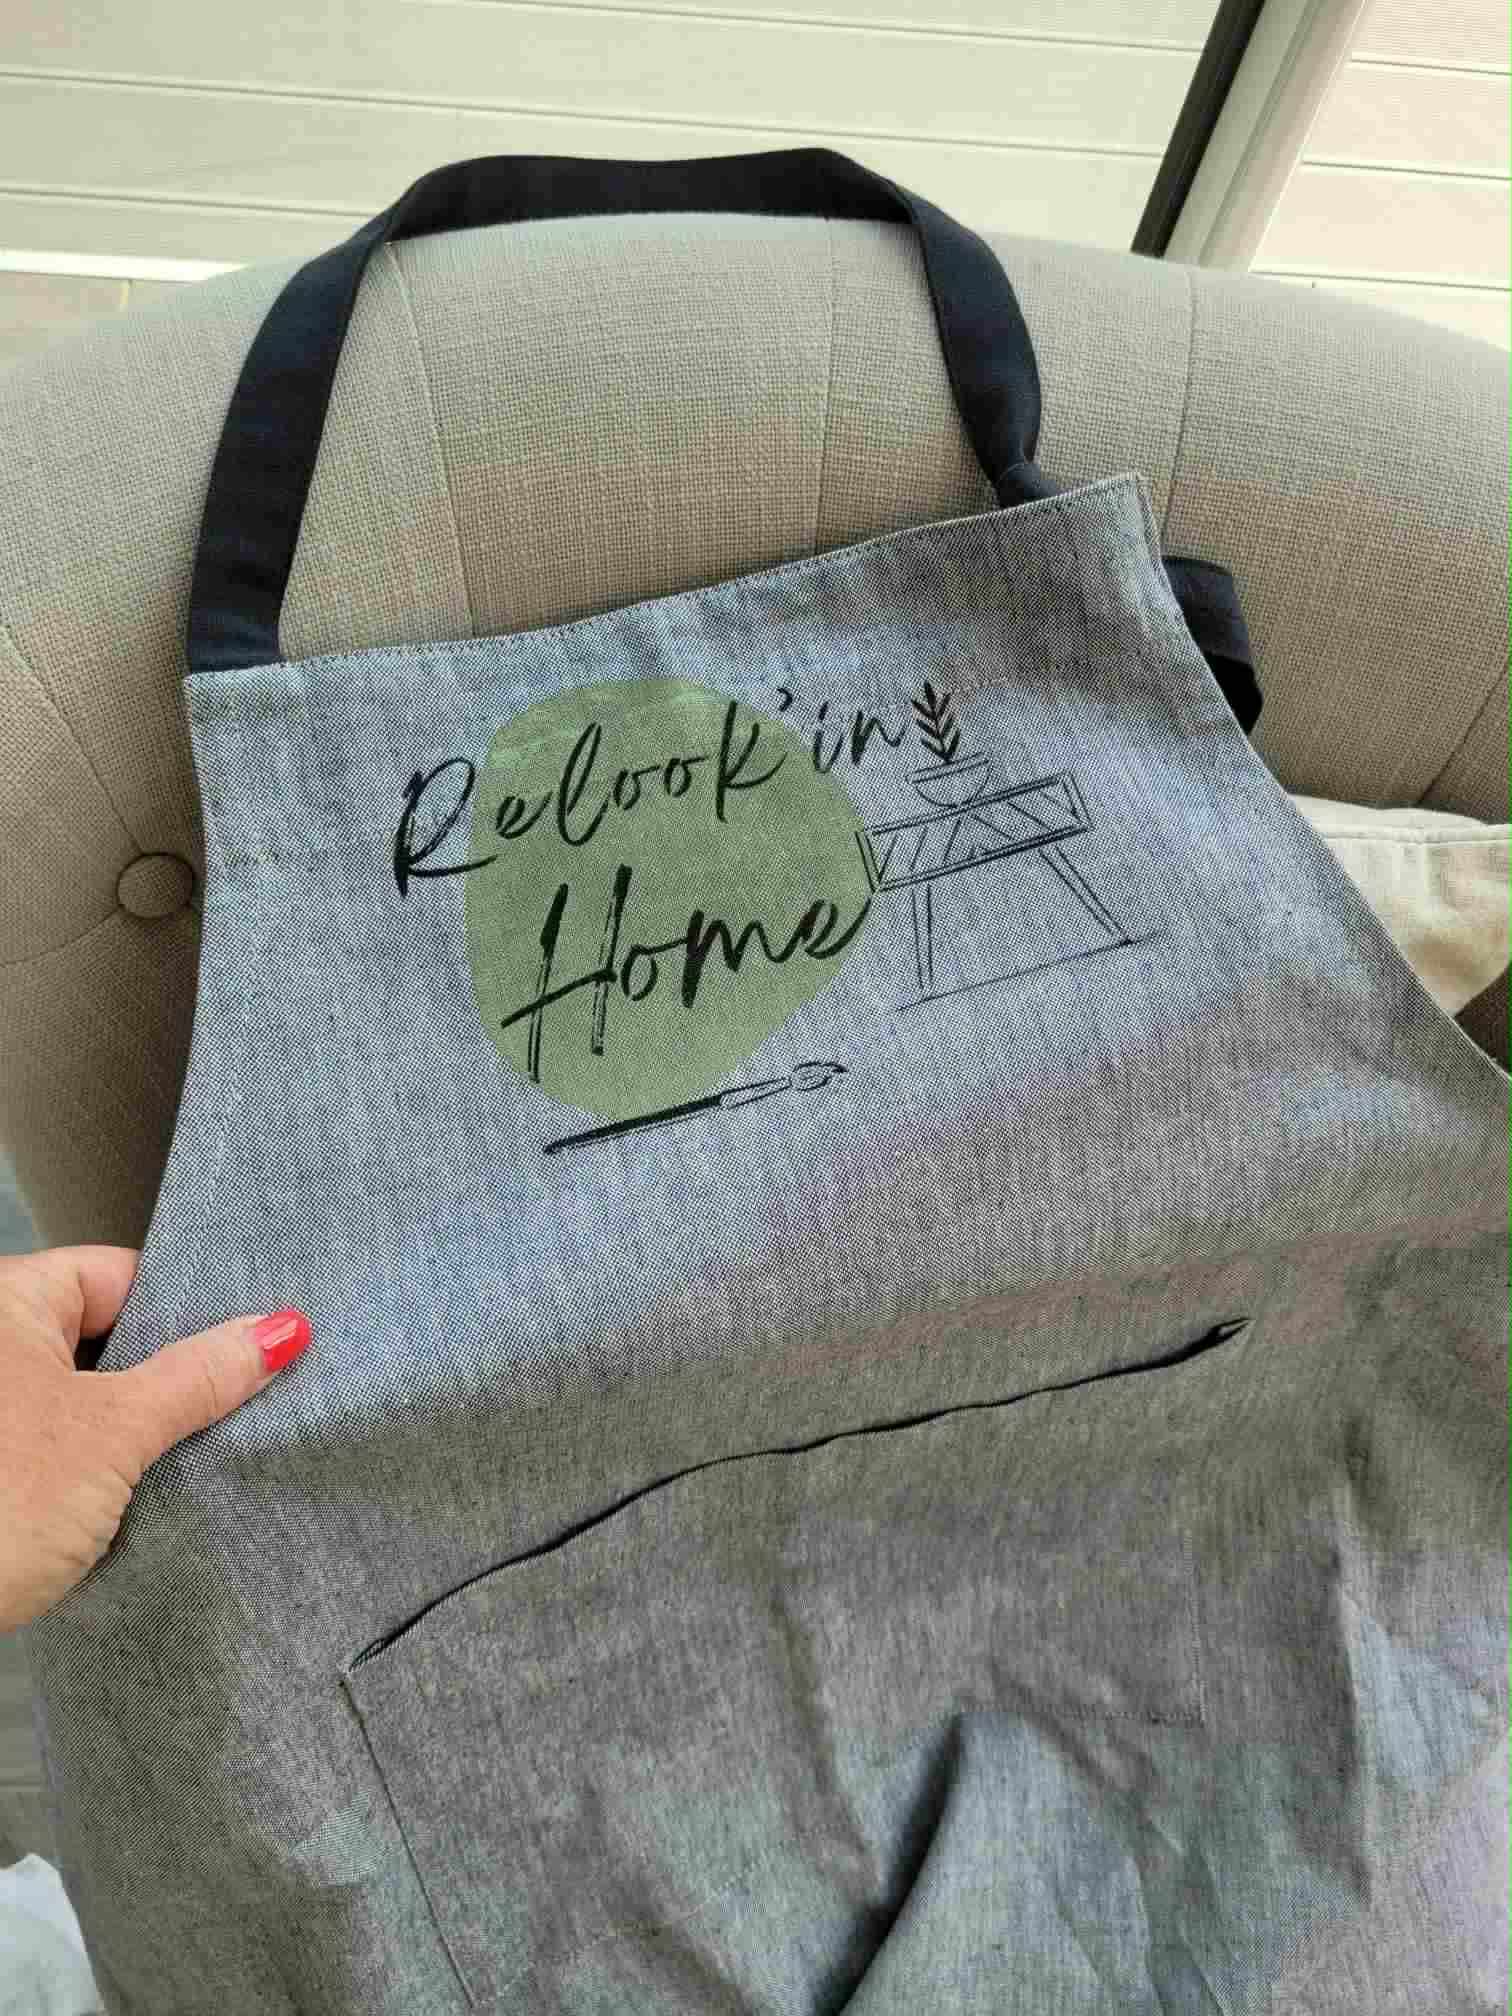
This tutorial is inspired by Stefanie, one of our amazing customers. She ordered a custom stencil for fabric from us and used it to create a beautiful apron as a gift. We loved her work so much that we recreated the process – and now you can try it too!
What You’ll Need
- To make your own stenciled apron, here’s what you’ll need:
- A plain cotton apron
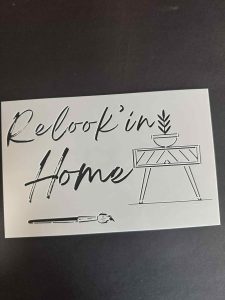
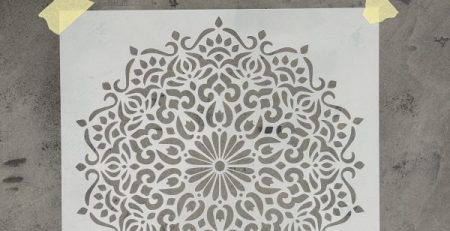
- Fabric stencil (custom or ready-made)
- Fabric paint or acrylic + fabric medium
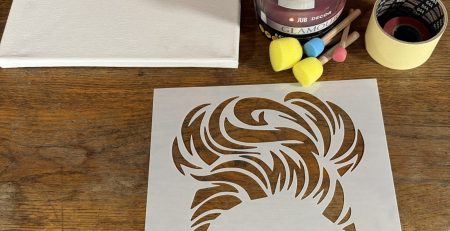
- Stencil brush or sponge
- Painter’s tape
- Protective surface (paper or cardboard)
- Iron (for setting the paint)
Step-by-Step: How to Stencil on Fabric
1. Prep Your Fabric
Wash and iron the apron first. This helps remove any coating and gives you a smooth surface to work on.
2. Secure the Stencil
Place the stencil where you want the design. Tape all edges down firmly. For extra hold, use stencil adhesive spray.
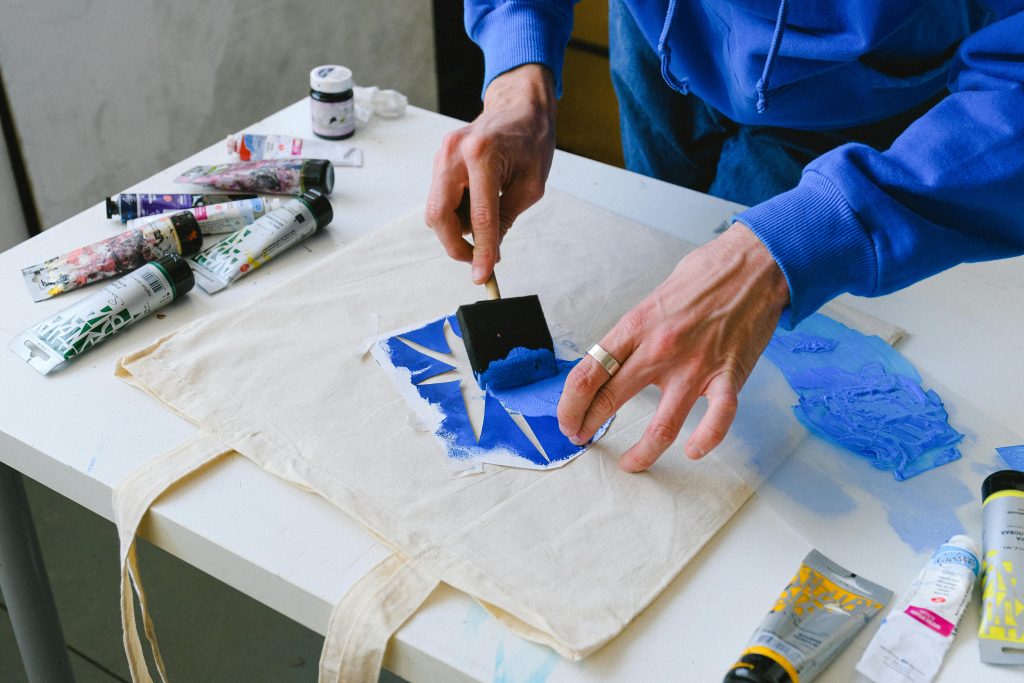
3. Apply the Paint
Use a dry brush or sponge and dab gently. Make sure not to overload the brush — less paint means less bleeding. Tap in an up-and-down motion, not side-to-side.
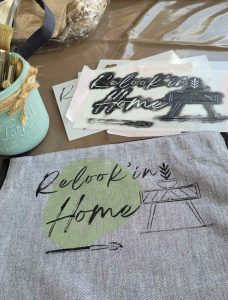
4. Let It Dry and Remove the Stencil
Carefully lift the stencil. Let the paint dry completely before moving or wearing the apron.
5. Heat Set the Design
Turn the apron inside out and iron it on medium heat for 2–3 minutes. This sets the paint and helps it last through washing.
See Stefanie’s Stencil Work in Action
In this short video, you’ll get a glimpse of Stefanie’s creative projects using our stencils on fabric. While it doesn’t show the apron featured in this post, it’s a great look at how she transforms simple textiles into something personal and eye-catching.
🎬 Watch more of her work on her website Visit Relook’in Home
Final Tips
- Practice on a scrap piece of fabric first
- Let each color dry before adding another layer
- Keep your stencil clean for best results
- Don’t rush — enjoy the process!
Thank You Stefanie!
Big thanks to Stefanie for letting us share her project. Seeing your creative ideas come to life with our stencils makes everything we do worth it. If you’ve made something special — we’d love to see it!
Tag us on Instagram or email us your photos. You might be our next feature. 😊
GET IN TOUCH
Ready to create something beautiful like Stefanie did?
Cake Decoration Stencils – Personalized Designs for Pastry and Cakes
Cake decoration is all about details. A simple cake becomes unforgettable with the right design. Professional pastry chefs and home bakers use...
read more
Custom Stencil for a Pizzeria
When a restaurant opens its doors, every detail matters. From the menu to the interior, everything should tell the same story. For...
read more
Inspiring Creativity in Schools: How Students Transformed Their Classroom with Stencils
When we think about stencils, we often picture home décor projects, DIY makeovers, or artistic wall designs. But stencils are also a...
read more
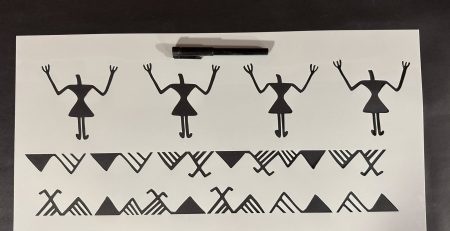
Prehistoric Stencil Art
When history meets creativity, the result is more than just a decorative project — it’s a bridge between past and present. For...
read more
Advanced Stencil Techniques: 7 Tips for Professional Results
If you’ve already mastered the basics of stenciling — you know how the paint behaves, what tools you like best, and even...
read more
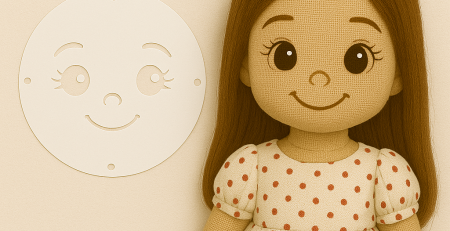
How to Use Doll Face Stencils – Create Perfect Doll Faces
Making dolls is fun — but painting their faces can be the hardest part. Getting both eyes even? Not so easy! That’s...
read more
Custom Pressure Washer Stencils
When you think of stencils, you probably picture paint or plaster.But custom pressure washer stencils work in a completely different way —...
read more
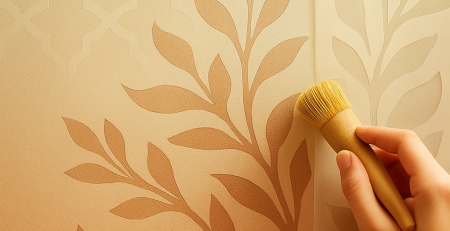
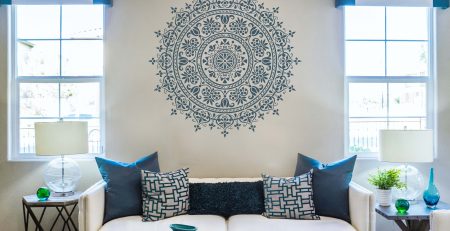
How to Stencil on a Wall: Easy DIY Wall Art for Beginners
If you’ve ever wanted to refresh your space without a major renovation, wall stenciling is a fantastic way to do it. It’s...
read more
Stencil Art Techniques – How to Use Art Stencils Creatively
Looking for creative, stylish, and affordable ways to enhance your home or personal projects? Stencil art techniques offer a fun and accessible...
read more
Top Tools for Stencil Art: A Beginner’s Guide
Getting started with stencil art can feel exciting but a bit overwhelming. There are so many materials and supplies out there that...
read more