Come Usare gli Stencil per Tessuti: Tutorial per un Grembiule Fai-da-Te (2025)
Stencillare su tessuto è uno dei modi più semplici per creare qualcosa di personale, creativo e utile. Che tu voglia decorare una borsa, una maglietta o un grembiule — lo stencil su tessuto è un progetto divertente e semplice. Questo tutorial è ispirato da Stefanie, una delle nostre straordinarie clienti. Ha ordinato uno stencil personalizzato per tessuti da […]
Stencillare su tessuto è uno dei modi più semplici per creare qualcosa di personale, creativo e utile. Che tu voglia decorare una borsa, una maglietta o un grembiule — lo stencil su tessuto è un progetto divertente e semplice.
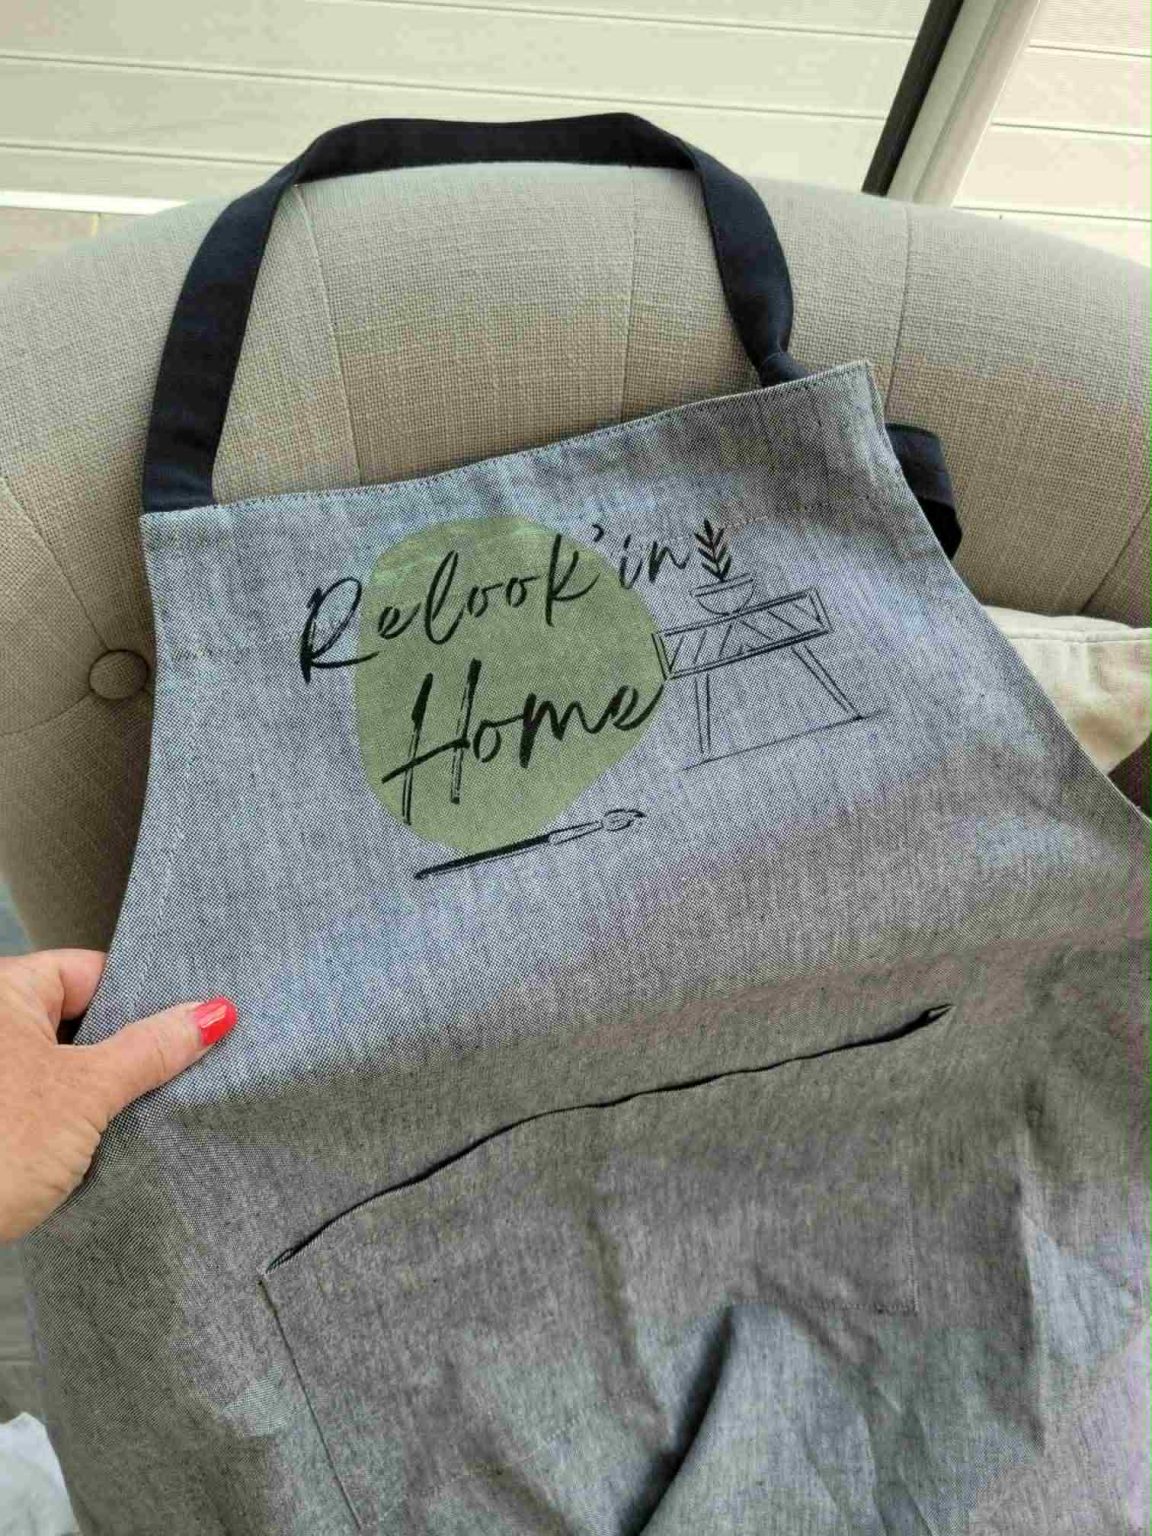
Questo tutorial è ispirato da Stefanie, una delle nostre straordinarie clienti. Ha ordinato uno stencil personalizzato per tessuti da noi e lo ha utilizzato per creare un bellissimo grembiule come regalo. Abbiamo amato così tanto il suo lavoro che abbiamo ricreato il processo – e ora puoi provarlo anche tu!
Cosa Ti Serve
Per realizzare il tuo grembiule con stencil, ecco cosa ti serve:
Un grembiule di cotone semplice
Stencil per tessuti (personalizzato o pronto all'uso)
Vernice per tessuti o acrilico + medium per tessuti
Pennello per stencil o spugna
Nastro adesivo per pittori
Superficie protettiva (carta o cartone)
Ferro da stiro (per fissare la vernice)
Passo dopo Passo: Come Stencil su Tessuto
1. Prepara il Tessuto
Lava e stira il grembiule prima. Questo aiuta a rimuovere qualsiasi rivestimento e ti dà una superficie liscia su cui lavorare.
2. Fissa lo Stencil
Posiziona lo stencil dove desideri il design. Fissa bene tutti i bordi con il nastro. Per una tenuta extra, usa uno spray adesivo per stencil.
3. Applica la Vernice
Usa un pennello asciutto o una spugna e tampona delicatamente. Assicurati di non caricare troppo il pennello — meno vernice significa meno sbavature. Tampona con un movimento su e giù, non laterale.
4. Lascia Asciugare e Rimuovi lo Stencil
Solleva con cura lo stencil. Lascia asciugare completamente la vernice prima di muovere o indossare il grembiule.
5. Fissa il Design con il Calore
Gira il grembiule al rovescio e stiralo a calore medio per 2–3 minuti. Questo fissa la vernice e aiuta a mantenerla durante i lavaggi.
Guarda il Lavoro di Stencil di Stefanie in Azione
In questo breve video, avrai un assaggio dei progetti creativi di Stefanie usando i nostri stencil su tessuto. Anche se non mostra il grembiule presente in questo post, è un ottimo esempio di come trasforma semplici tessuti in qualcosa di personale e accattivante.
🎬 Guarda altri suoi lavori sul suo sito web Visita Relook’in Home
Consigli Finali
Fai pratica su un pezzo di tessuto di scarto prima
Lascia asciugare ogni colore prima di aggiungere un altro strato
Mantieni il tuo stencil pulito per i migliori risultati
Non avere fretta — goditi il processo!
Grazie Stefanie!
Un grande grazie a Stefanie per averci permesso di condividere il suo progetto. Vedere le tue idee creative prendere vita con i nostri stencil rende tutto ciò che facciamo gratificante. Se hai creato qualcosa di speciale — ci piacerebbe vederlo!