How to Use a Stencil for Cake Decorating
Struggling with messy cake designs? Learn how to use a stencil for cake decorating and get clean, professional results every time.

If you’ve ever tried to decorate a cake by hand, you probably know how quickly things can go wrong.
One uneven line, one small mistake-and suddenly everything feels off.
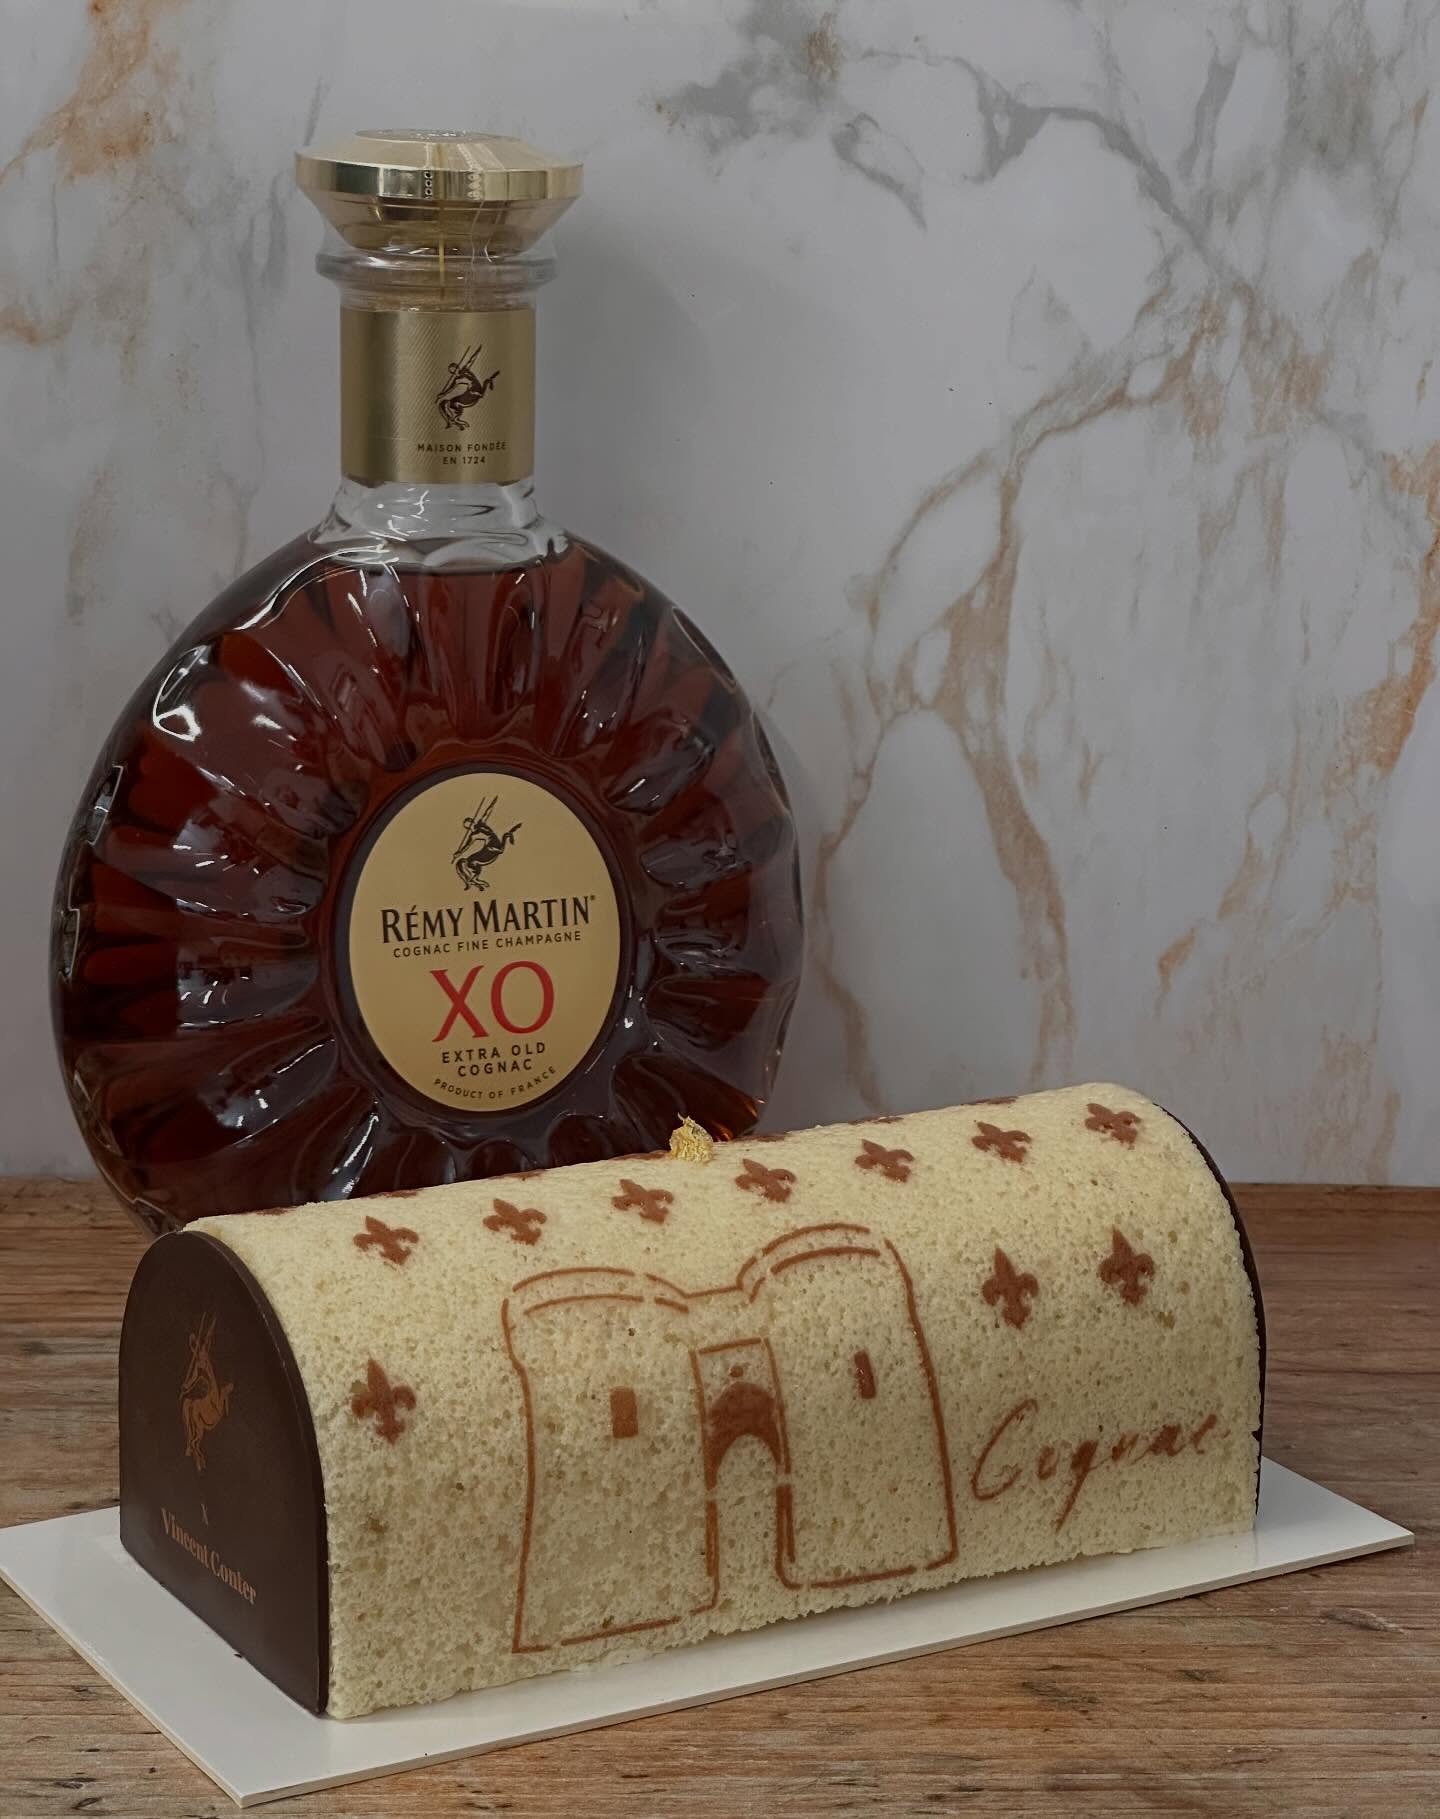
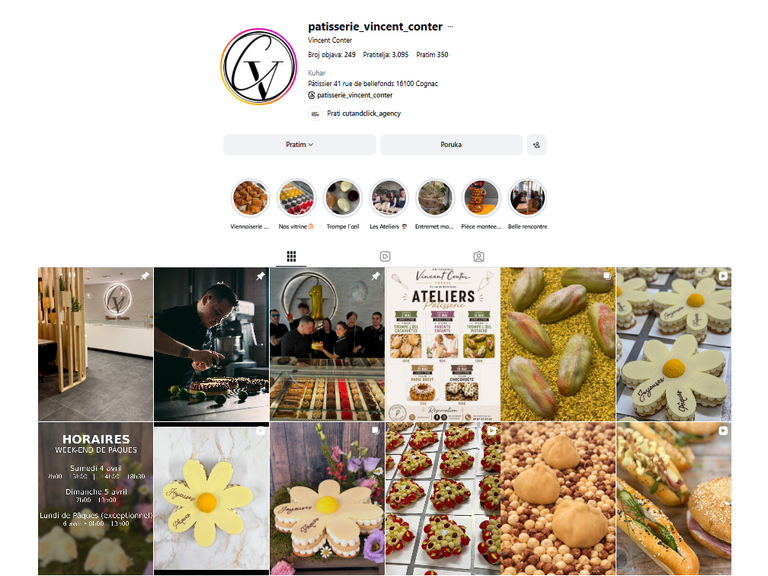
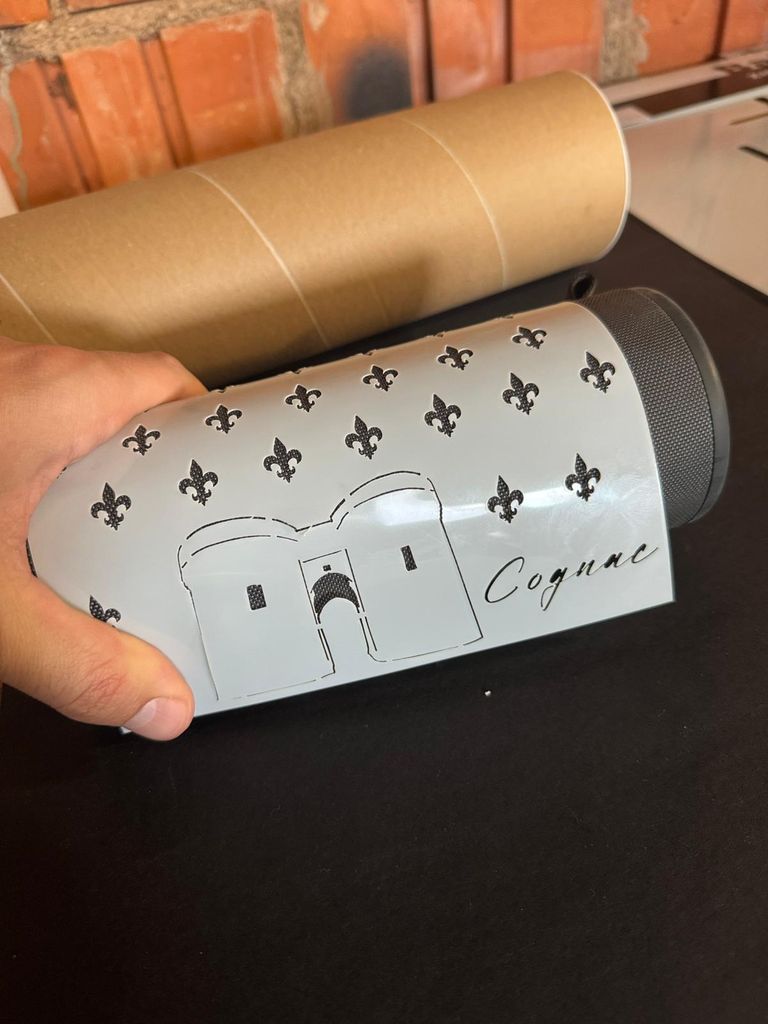
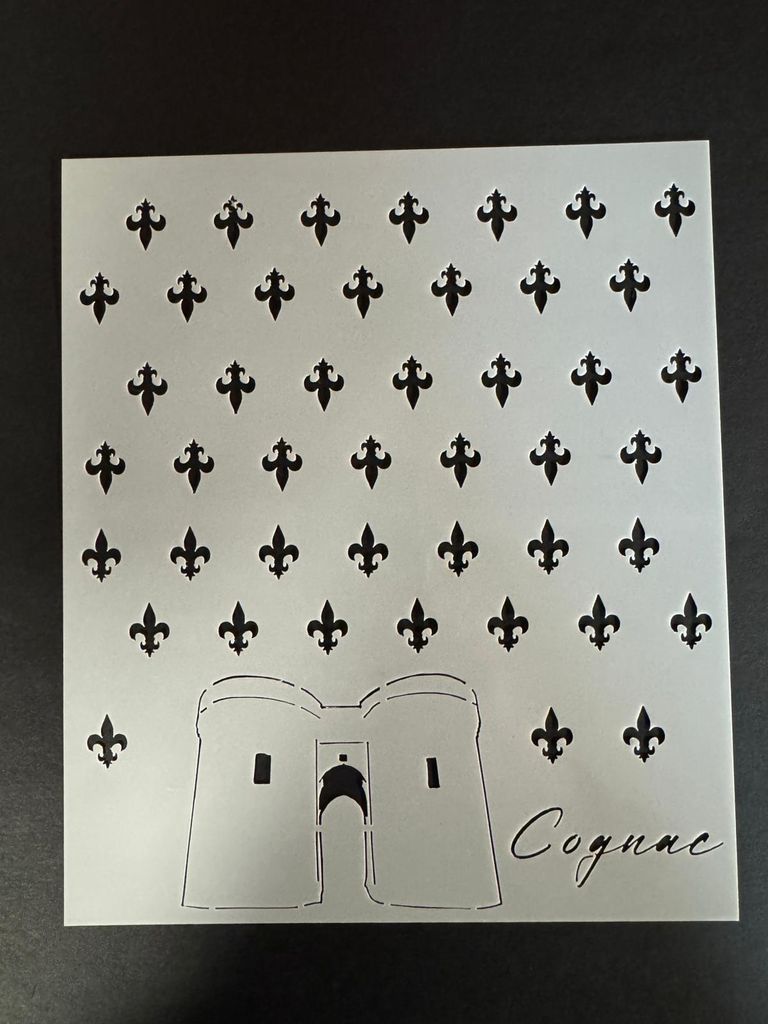
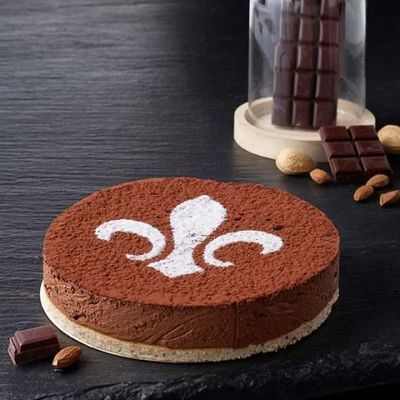
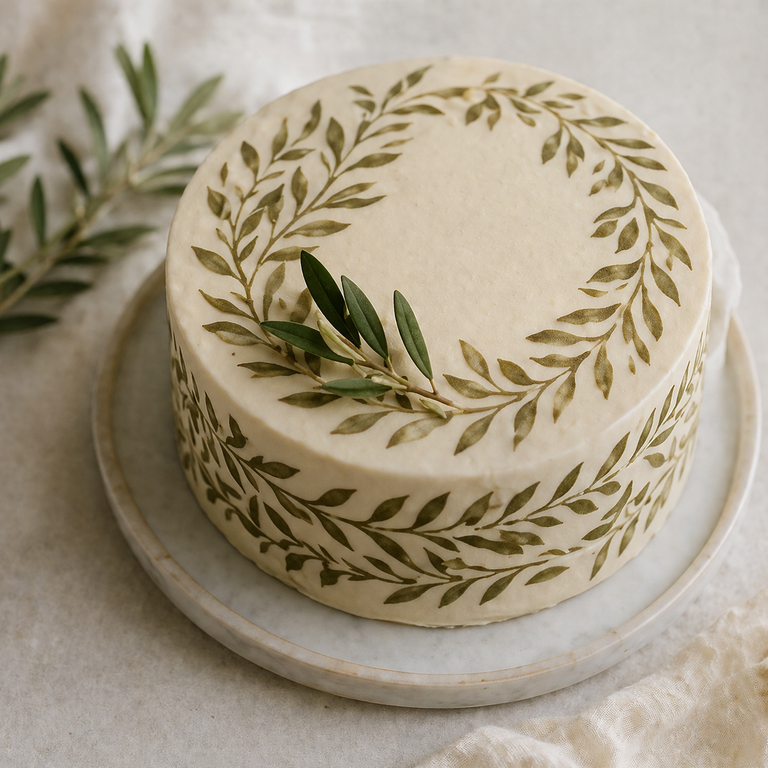
That’s exactly where cake stencils come in. They’re often seen as a simple shortcut, something beginner-friendly.
But used properly, they can create results that look just as refined as fully hand-decorated cakes. We saw that firsthand during a recent collaboration with a pastry chef from Cognac, France.
A Different Approach to Cake Decorating
In many kitchens, decoration still relies heavily on freehand work. Piping, shaping, adjusting as you go.
But that comes with pressure-and inconsistency.
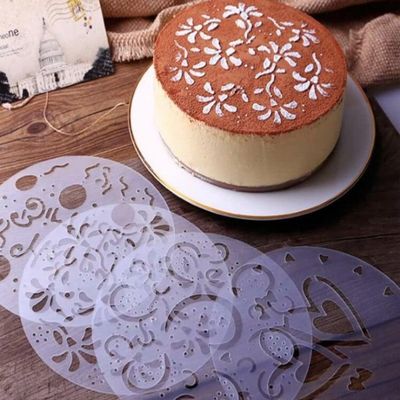
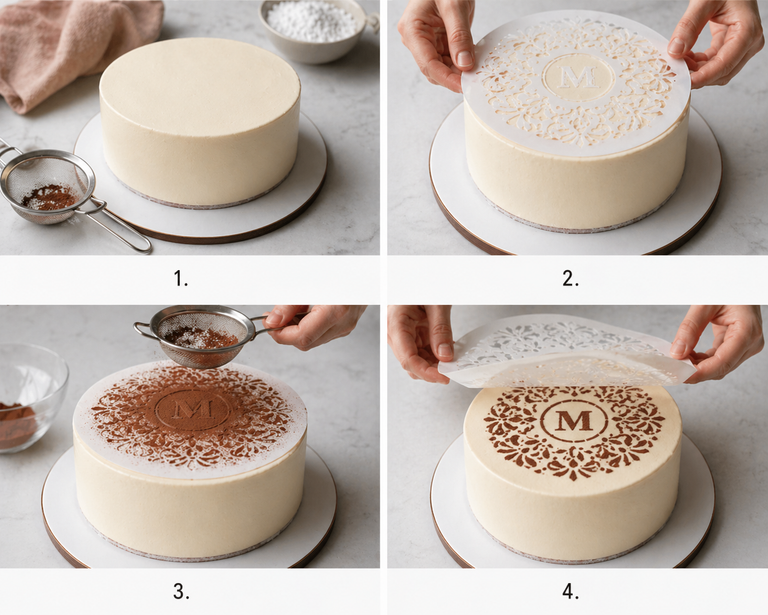
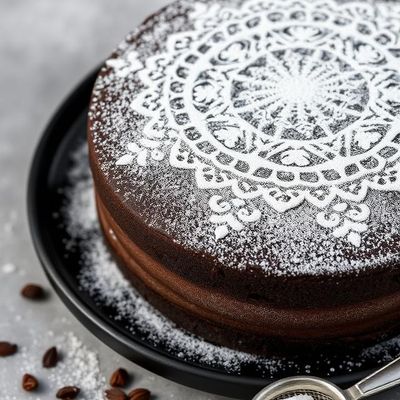
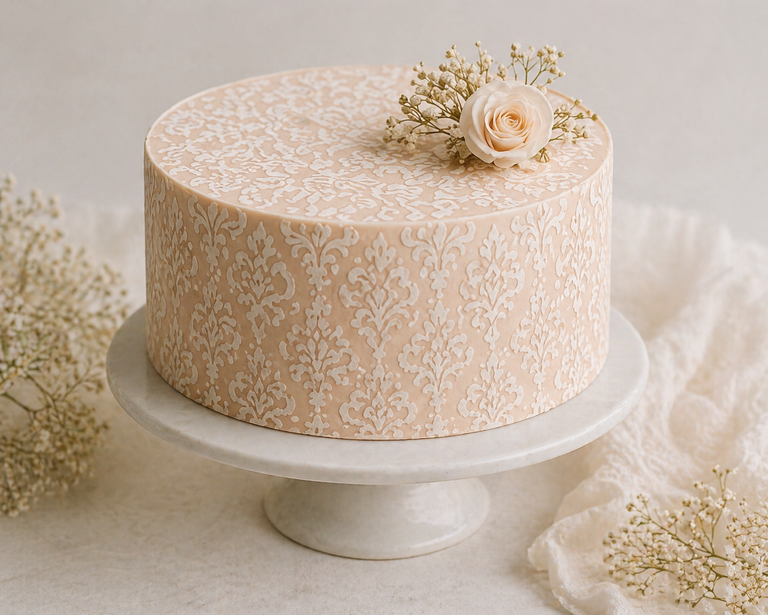
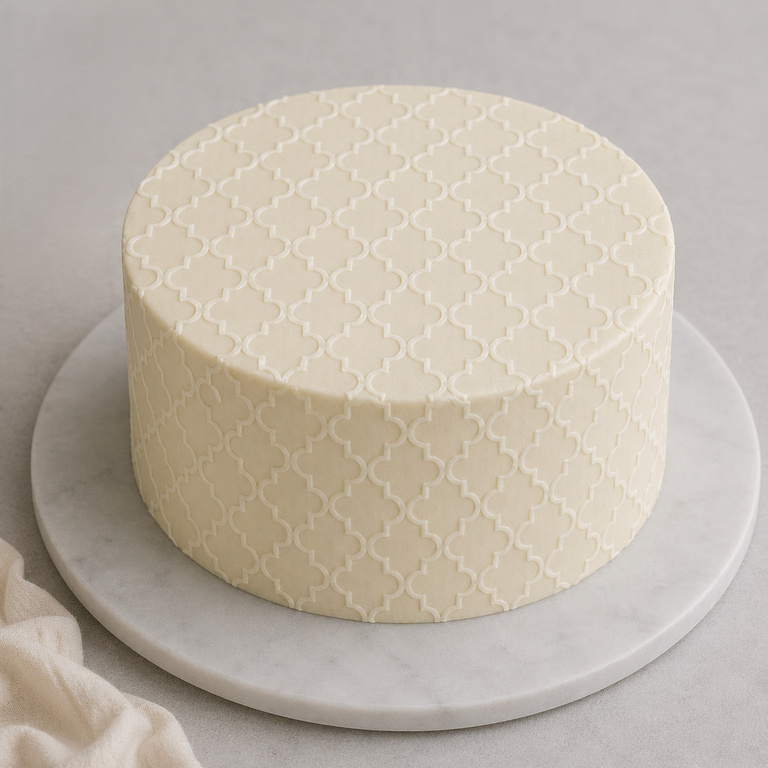
Using a stencil for cake decorating changes that completely. You’re not guessing anymore. You’re placing, applying, and revealing.
That shift alone makes it useful not just for beginners learning how to use cake stencils, but also for professionals who need precision.


The Cognac Cake Project
The idea behind this project was quiet branding.
Instead of adding heavy decoration, the chef wanted something subtle - a pattern that could sit on the surface without taking over the dessert.
We created a custom stencil design that combined:
- a repeating motif
- a central visual element
- light lettering (similar to cake stencil letters, but more discreet)
The result wasn’t loud-but it didn’t need to be.
It gave the cake structure and identity without distracting from it.


How to Use a Stencil for Cake Decorating (Step by Step)
In practice, using a cake stencil comes down to a few simple steps.
1. Prepare the surface
The cake should be smooth and slightly chilled. Too soft, and the stencil will move or stick.
2. Position the stencil
Place it directly on the cake and make sure it sits flat. Any gaps will affect the final result.
3. Apply lightly
Use powdered sugar, cocoa, buttercream, or spray. The key is restraint-don’t overload it.
4. Lift carefully
Remove the stencil slowly and evenly. No sudden movement.
That’s it. No complicated tools. Just control.

What Works Best (From Experience)
Over time, certain methods consistently give better results.
- Dusting works best when you want something quick and clean
- Buttercream stenciling adds depth, but requires a steadier hand
- Letter stencils for cakes are great for messages, but spacing matters more than people expect
Even something like cake stencil letters can look either elegant or messy depending on how carefully they’re applied.


Where Cake Stencils Make the Most Sense
There’s a common assumption that stencils are just for beginners.
But that’s not really how they’re used in practice.
They’re especially useful when:
- you need consistent results across multiple cakes
- you’re working with branding or logos
- you want a structured, repeatable design
- or simply when time matters
That’s why more professionals are quietly using them-especially in modern pastry where minimalism is preferred.
A Few Small Things That Make a Big Difference
Nothing complicated—but easy to overlook.
- The surface shouldn’t be too soft
- The stencil needs to sit flat
- Pressure should be minimal
- Removal should be slow and controlled
Most stencil designs don’t fail because of the stencil, but because of movement.
What made this collaboration stand out was the restraint.
No unnecessary layers. No over-decoration.
Just a simple stencil, used with intention - and a clean, consistent result.


Final Thought
At the end, using a stencil for cake decorating isn’t about complex techniques—it’s about control.
How much you apply, how you hold the stencil, and how steadily you remove it—these are the details that make the difference.
Once those come together, the result follows naturally. Clean, precise, and without the need for much correction.
Looking for a personalized design, logo, or lettering for your cakes?
Create Your Custom Cake Stencil

