How to Stencil a Wall: Beginner's Guide
Learn the basics of wall stenciling with our comprehensive guide for beginners.
If you’ve ever wanted to refresh your space without a major renovation, wall stenciling is a fantastic way to do it. It’s budget-friendly, creative, and—best of all—completely doable, even for beginners. In this guide, we’ll walk you through how to stencil on wall surfaces step by step, so your next DIY project feels easy and fun.
Step 1: Choose the Right Stencil for Your Space
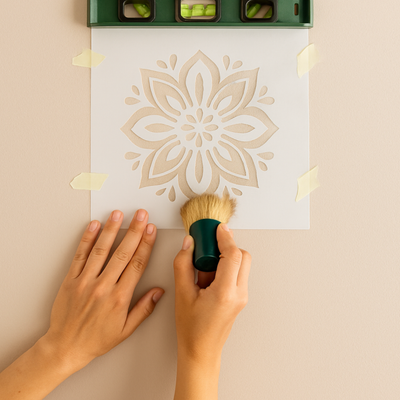
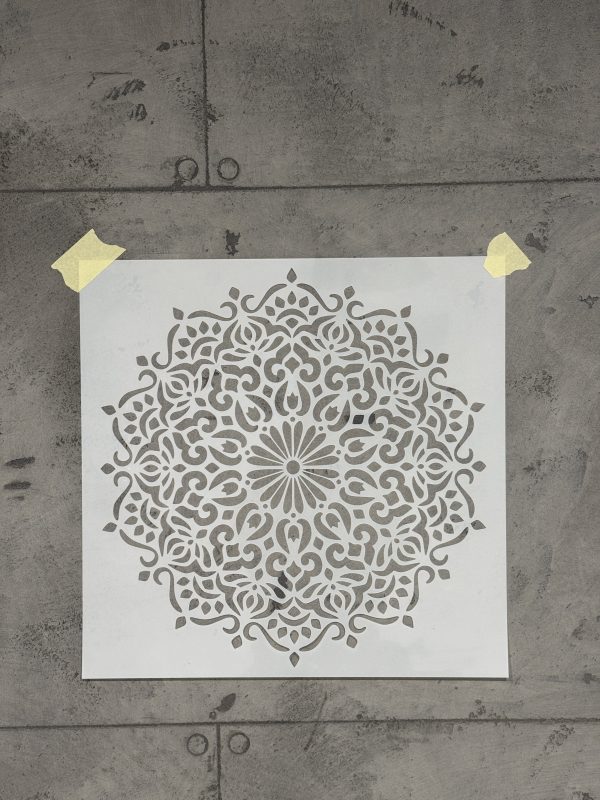
Before you begin, pick a stencil that fits the vibe of your room. Want something bold? Geometric patterns or large florals can make a real statement. Prefer something calming? Mandalas or leafy designs add gentle charm.
Tip: Browse our most popular stencils if you need inspiration.
Step 2: Gather Your Tools for Stencil Art
Having the right tools makes all the difference. For this project, you’ll need:
- Painter’s tape or spray adhesive
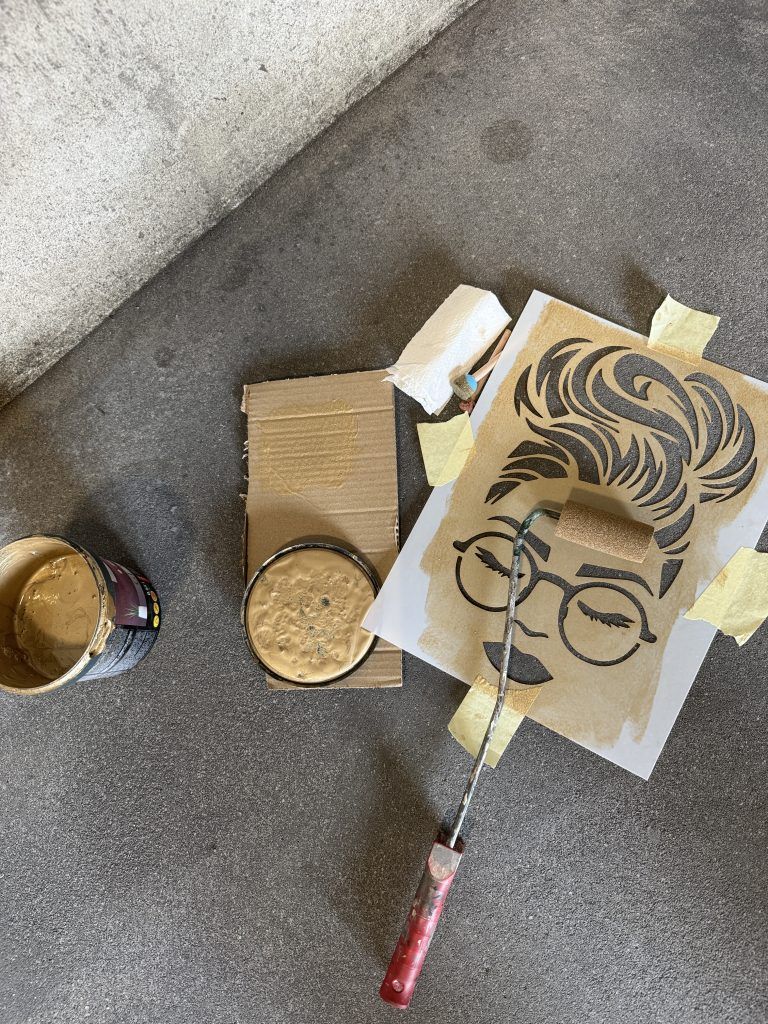
- A stencil brush or dense foam roller
- Acrylic or wall paint
- Paper towels or a tray to offload excess paint
- A level (to keep things straight!)
Step 3: Prep Your Wall
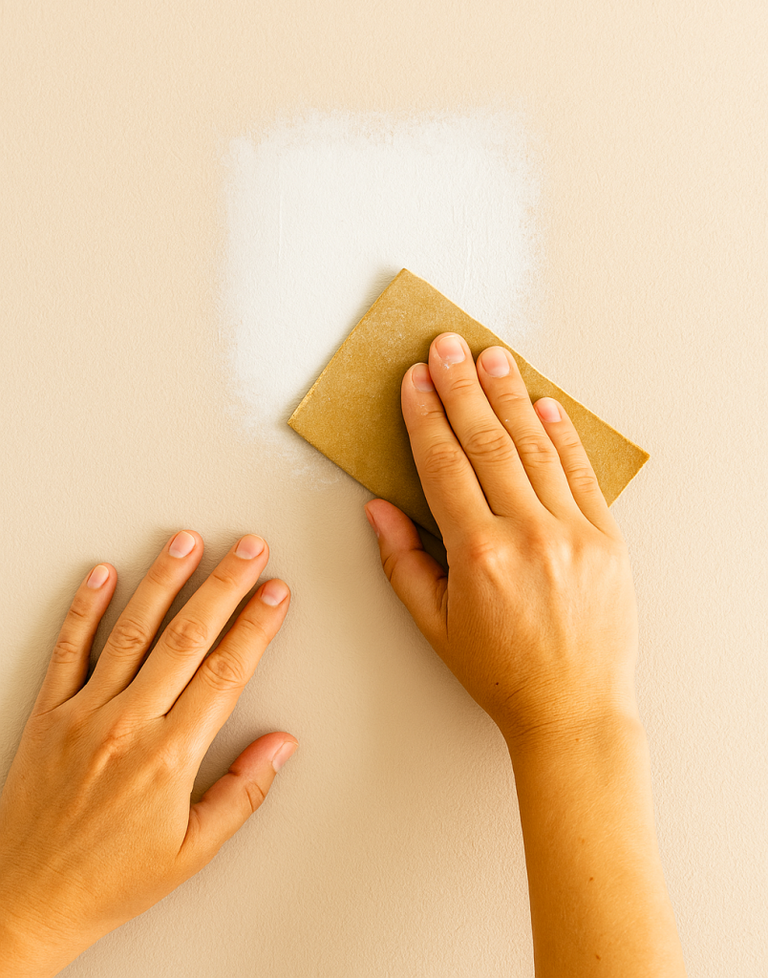
Clean the wall and make sure it’s dry. If the surface is glossy or textured, consider lightly sanding it first and applying a base coat. Use a level to help you place your stencil evenly before taping it in place.