Rénovation de Salle de Bain avec Art au Pochoir : Une Transformation Créative et Moderne
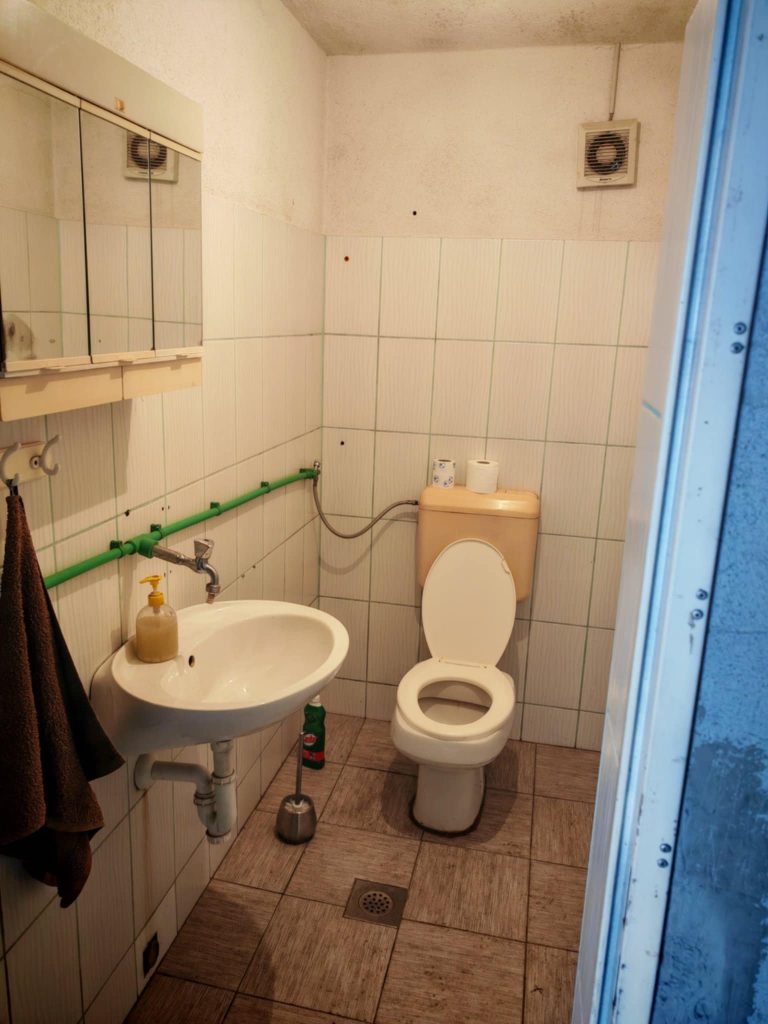
L'une des rénovations de salle de bain les plus inspirantes avec l'art au pochoir vient de Danijel, fondateur de Mdecor—un studio de rénovation créatif réputé pour le design de surface moderne. Dans ce projet remarquable, Danijel a combiné le microciment et des pochoirs personnalisés pour transformer complètement une salle de bain vieillotte en un refuge minimaliste et épuré, plein de caractère. En utilisant un microciment neutre comme base […]
One of the most inspiring bathroom renovations with stencil art comes from Danijel, founder of Mdecor—a creative renovation studio known for modern surface design. In this standout project, Danijel combined microcement and custom stencils to completely transform an outdated bathroom into a clean, minimalist retreat full of character.
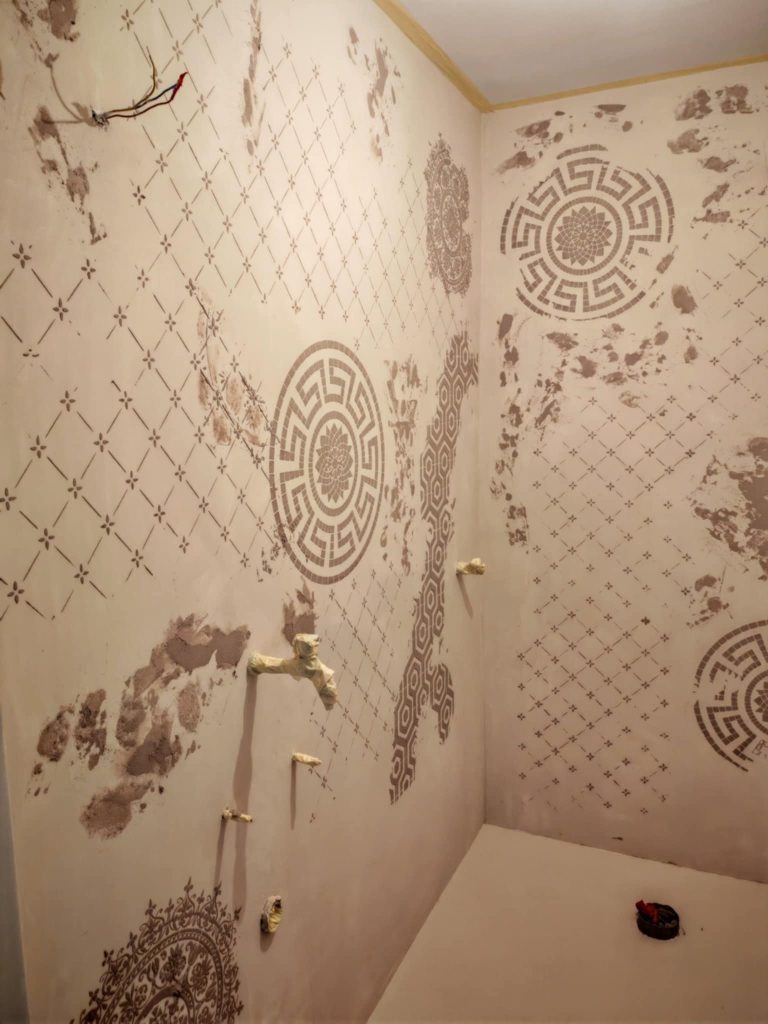
By using neutral microcement as a base and layering in subtle stencil details, he created a look that is not only beautiful but also durable, waterproof, and easy to maintain.
👉 You can check out more of his projects or contact him directly via official website.
Why Choose Bathroom Renovation with Stencil Art?
If you want a bathroom that feels both modern and artistic, this combination is the perfect answer. Microcement offers a seamless, waterproof coating that works beautifully on floors, walls, and even furniture. It creates a clean, minimalistic look while providing a strong, mold-resistant surface.
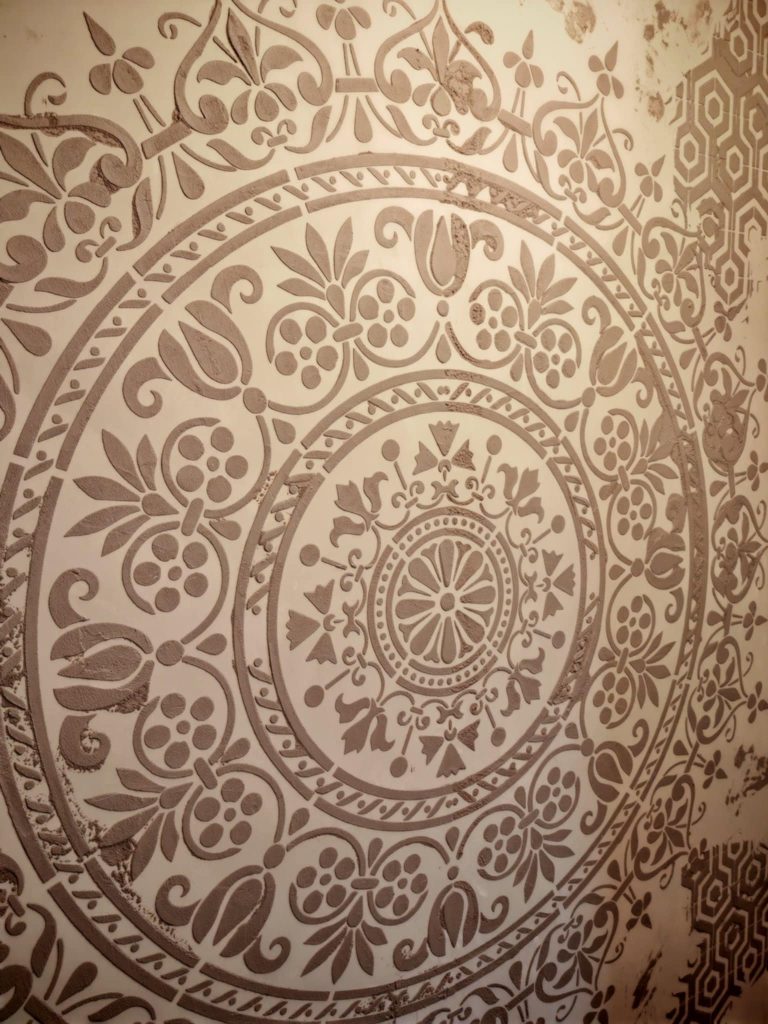
Stencil art, on the other hand, adds charm and personality. Whether you prefer subtle geometric patterns or bold decorative motifs, stencils let you express your style easily—and without breaking the bank.
Together, they make a perfect pair for a bathroom makeover that’s as practical as it is beautiful.
Step-by-Step Guide to Bathroom Renovation with Stencil Art and Microcement
We followed several key steps to transform the bathroom from a standard tiled space into a modern, seamless design featuring stencil art and microcement. Below is the process, from demolition to the final finish:
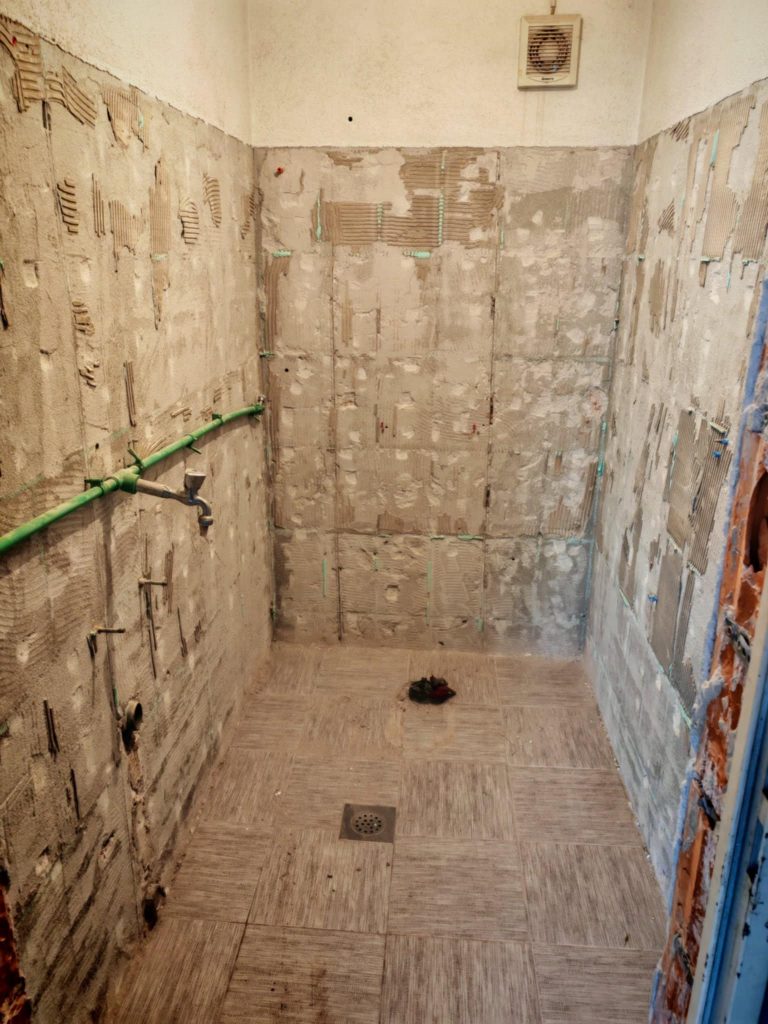
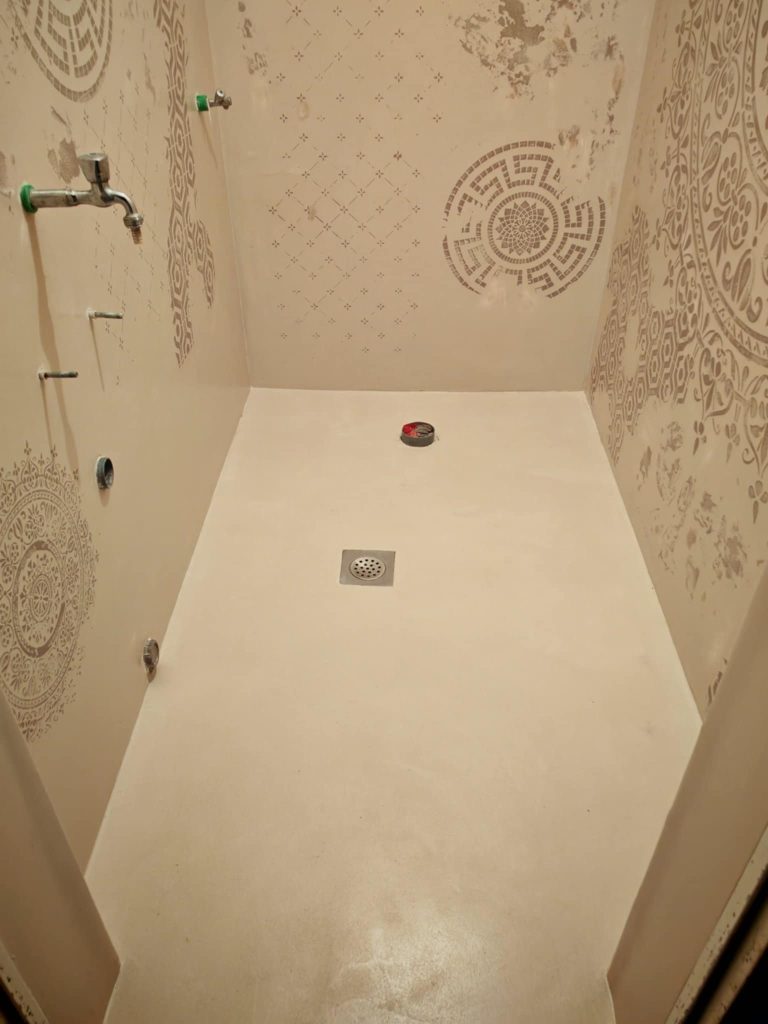
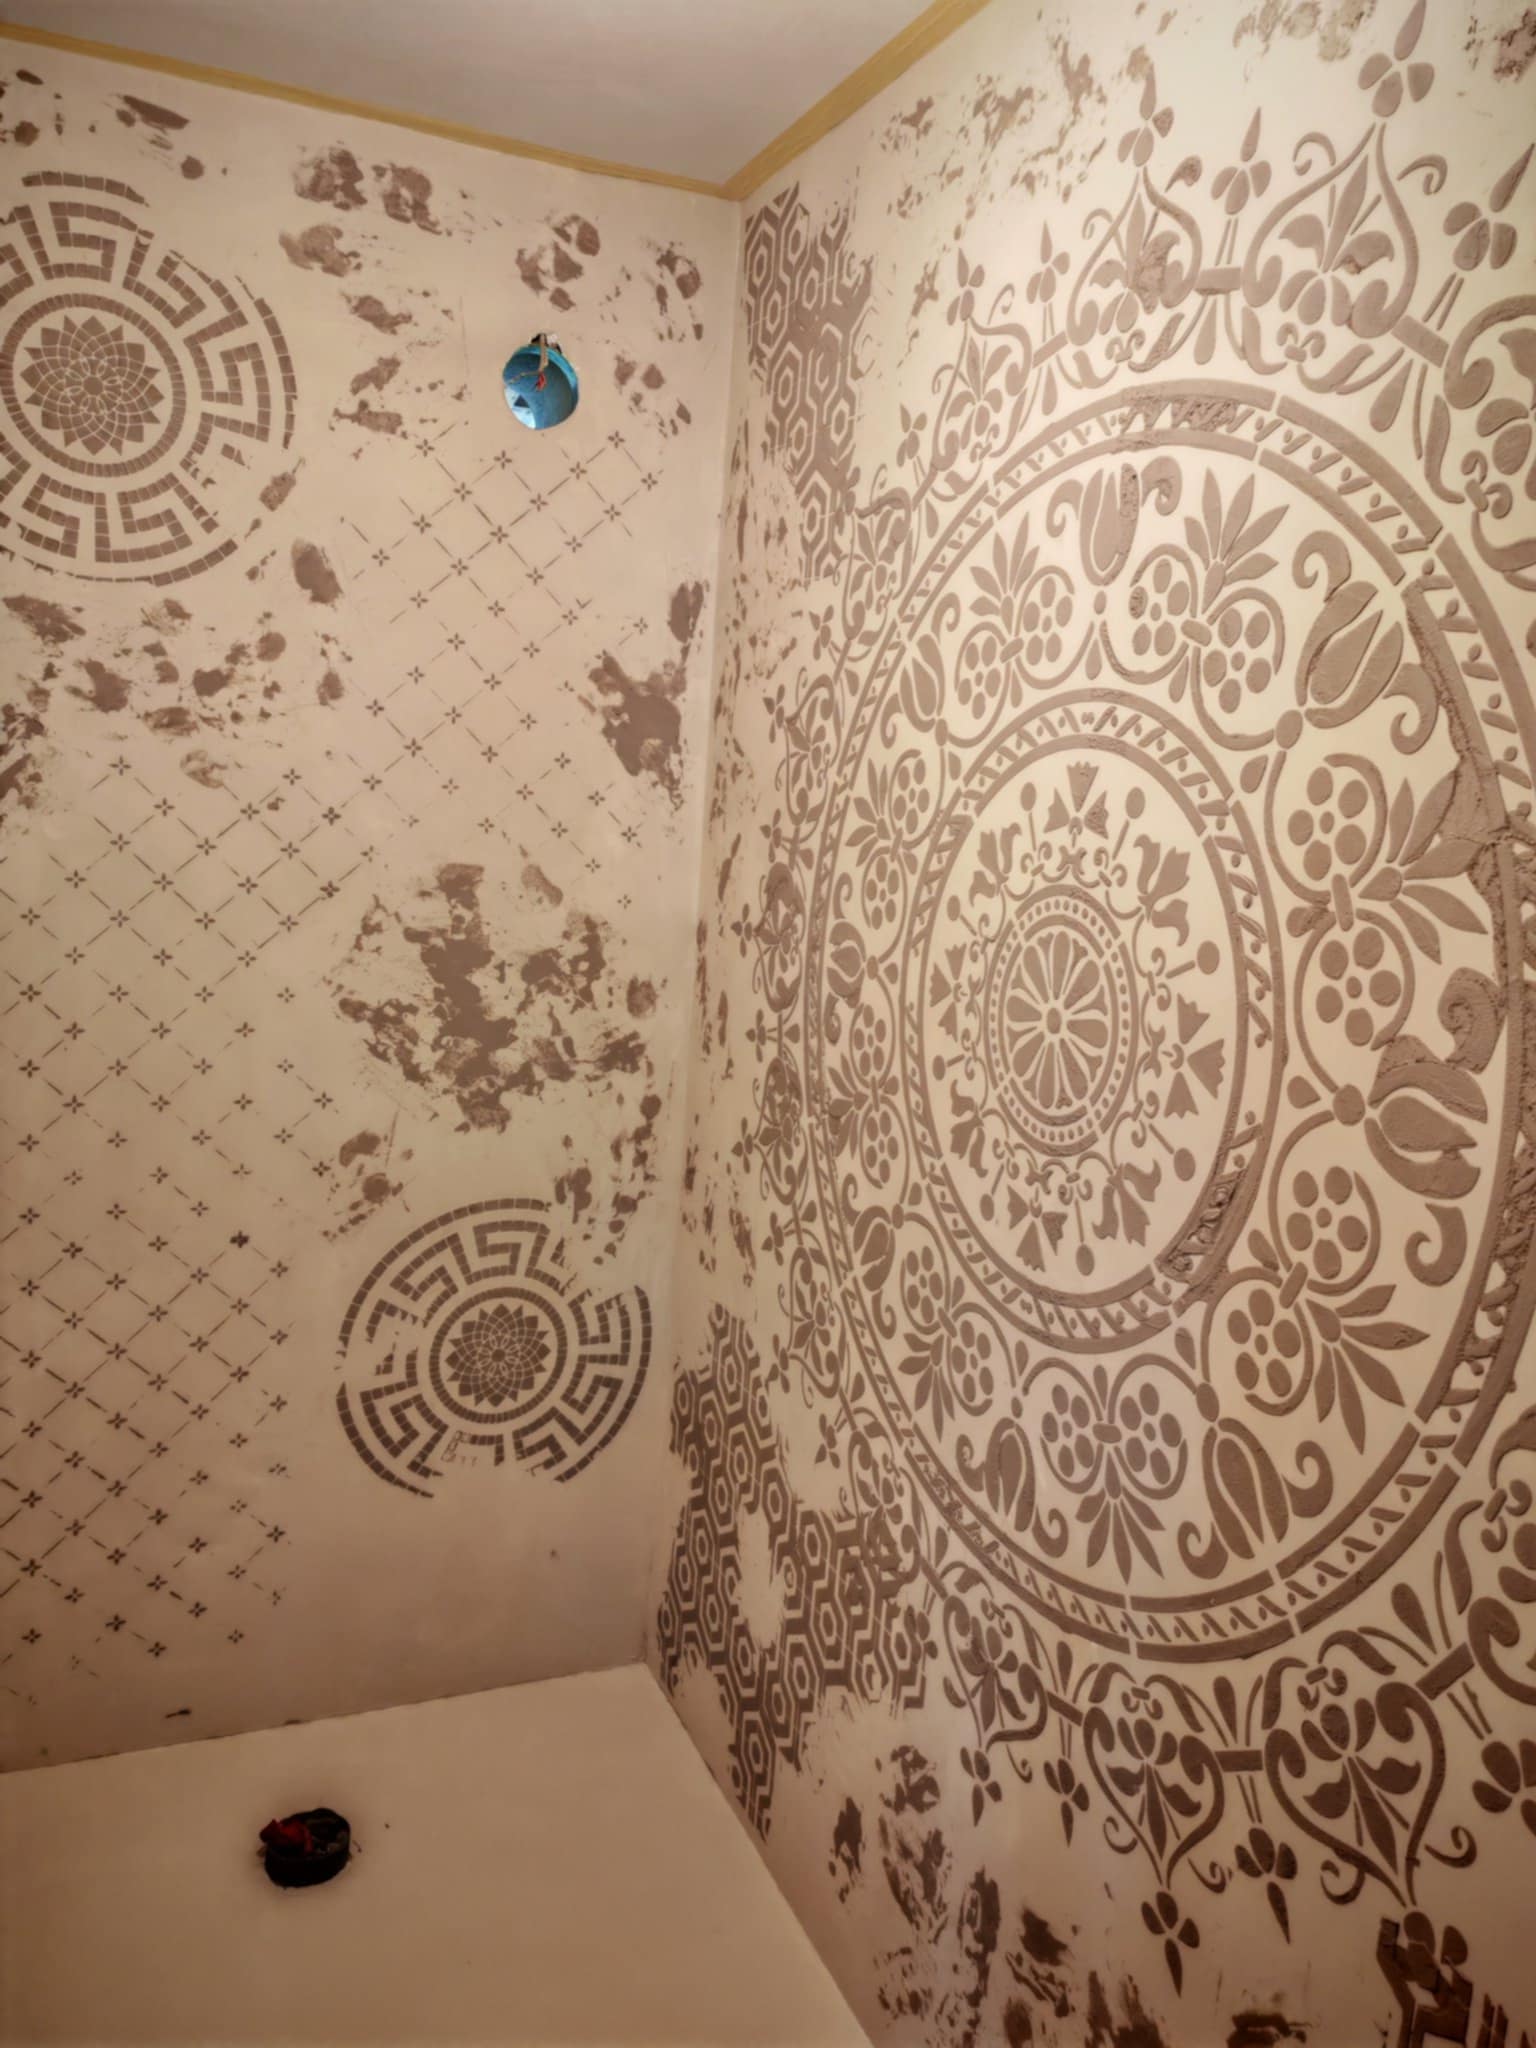
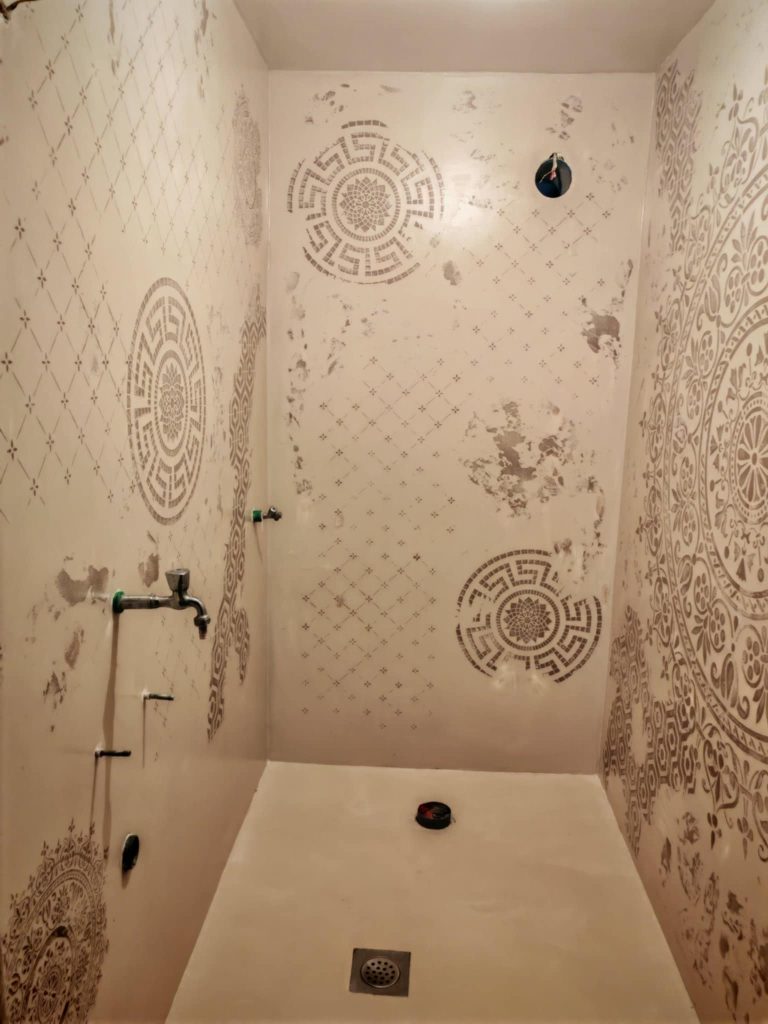
1. Removing Tiles and Fixtures
First, Danijel and his team removed all old tiles and bathroom fixtures. This step cleared the space and prepared it for a fresh start.